Link counsellors to their respective office branches
Permission Roles – features that Counsellors can access based on their roles
Reset counsellor’s password
View history of activities
Lesson 1 Get Started | Session 1 Create Password
1
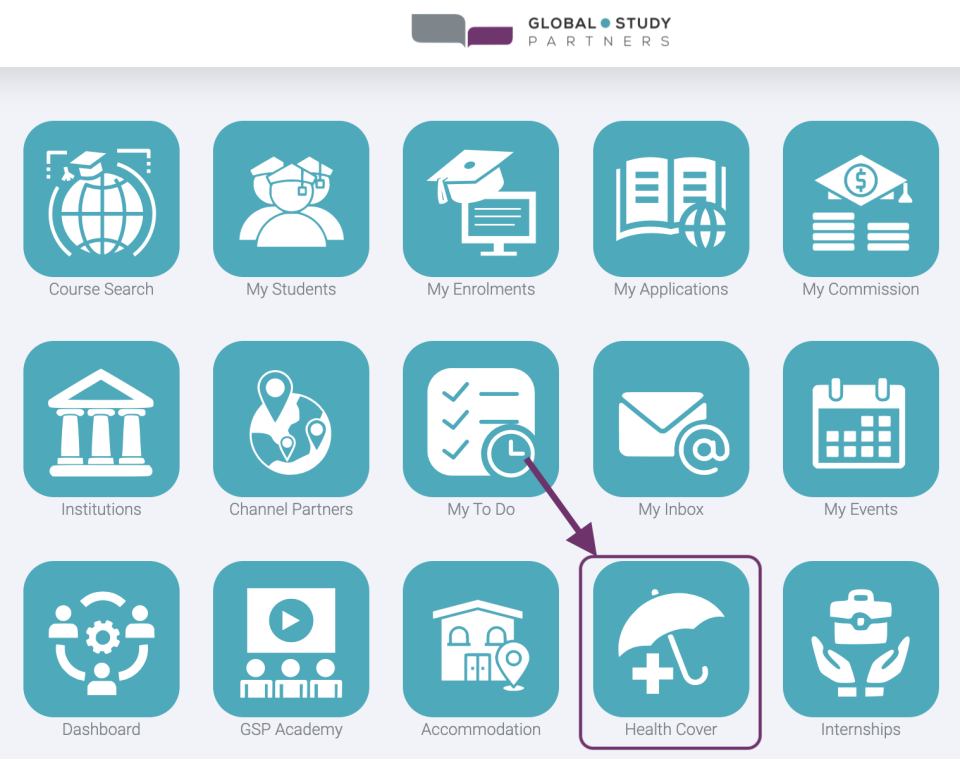
Upon clicking ‘Health Cover’, you will be redirected to ‘Request a Quote’ page where you should fill-out the fields which will be the basic basis of the policy amount:
No. of Adults – By default this is 1 referring to the student. This can be increased to 2 if the student is with his/her spouse.
No. of Children – The student can apply insurance up to 5 of his/her children or dependents under 18 years old.
Proposed Course Start – The start of classes.
Proposed Course End – The end of classes.
You should get a policy that covers the entire length of your student visa.
2
Click ‘Get Quote Now’ button to compare prices of popular OSHC providers to international students.
2
3
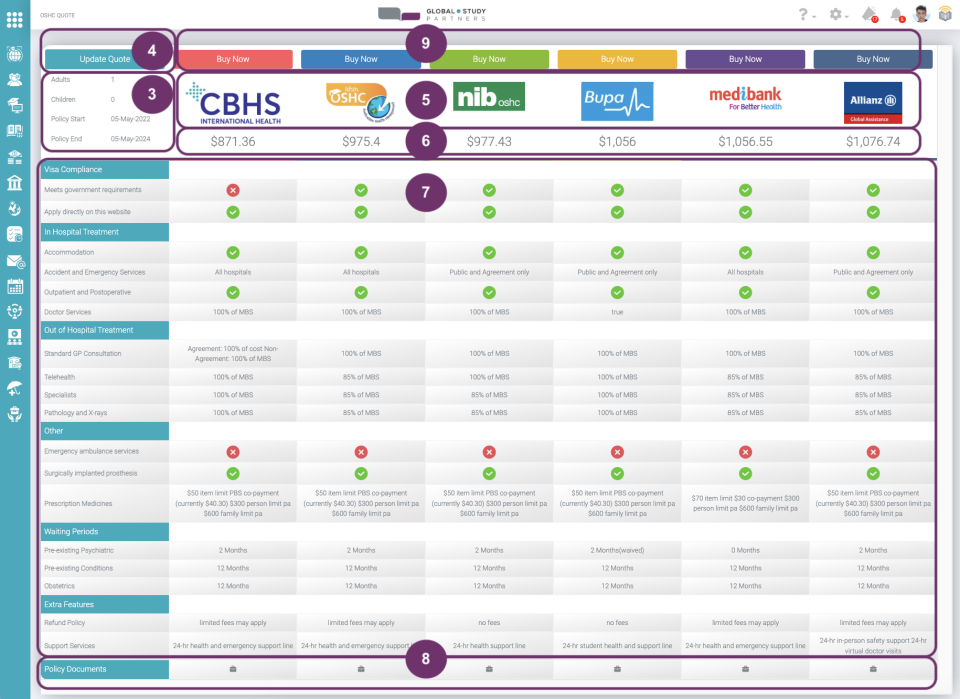
This is the page where you can compare OSHC prices from different providers based on your input in the previous page. At the top left, you’ll find the following:
No. of adults included in the insurance
No. of children included in the insurance
Policy Start
Policy End
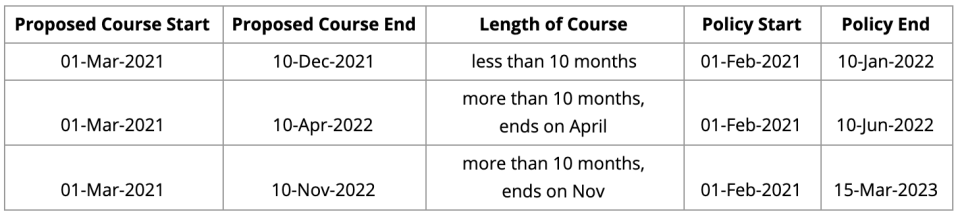
There are some rules on how the policy starts and policy ends is being computed. Please refer to the table and some examples below
Examples
You can update your inputs by clicking the ‘Update Quote’ button located at the top left of the page.
4
5
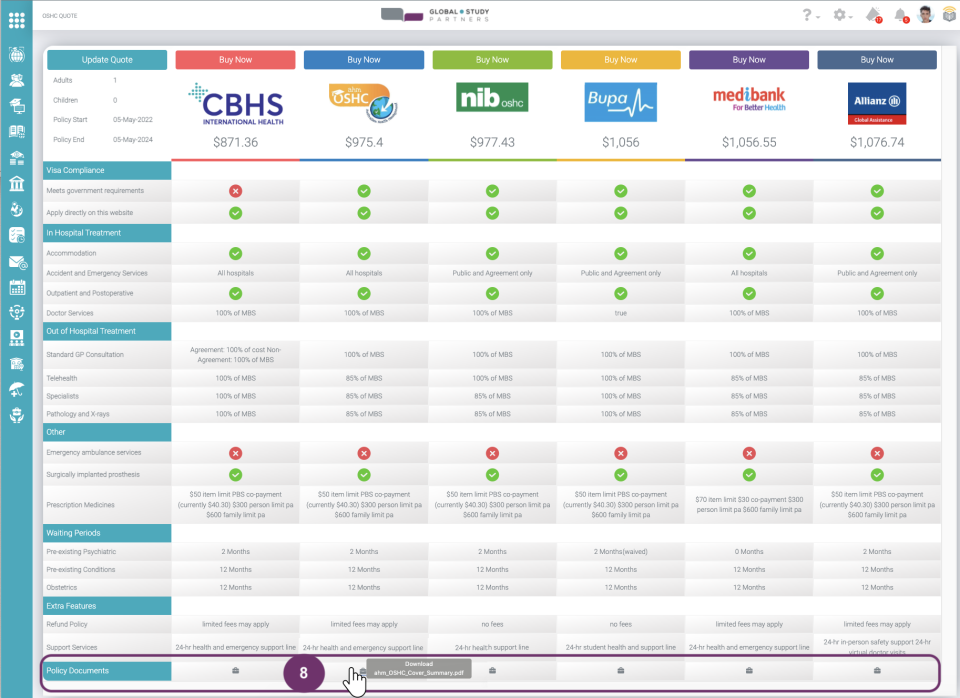
These are some of the most popular OSHC providers:
These are the prices of the policy per provider based on the inputs you have made in the ‘Request A Quote’ Page. The prices are sorted from the least price.
6
7
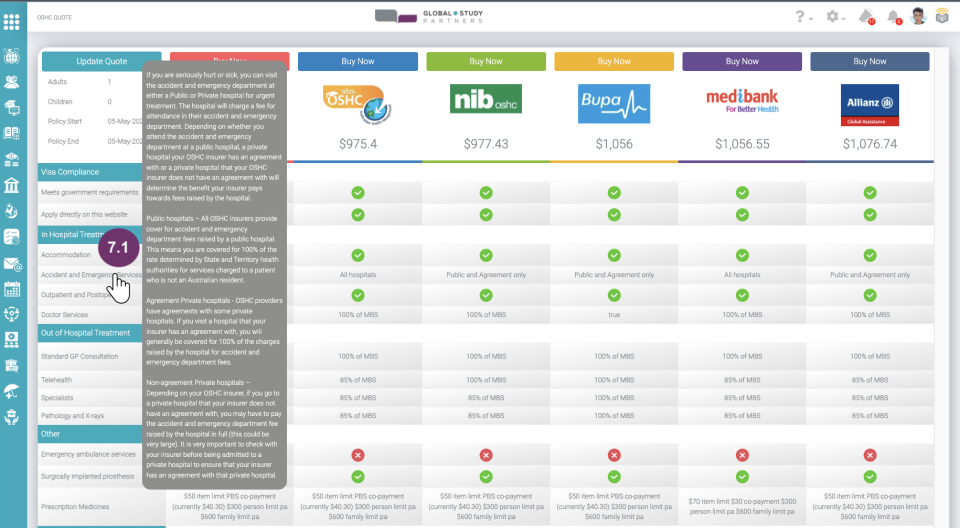
With this summary coverage format, you can easily compare the coverage of each policy per provider. The left hand side indicates the specific coverage and you can view whether the provider has it covered or not.
Covered in the policy by the provider
NOT Covered in the policy by the provider
7.1 Hover or point your mouse to the titles at the left and thorough descriptions will be displayed so you can understand well what the coverage is about.
At the very bottom of the page, click the toolbox icon per provider to download the complete policy documents.
8
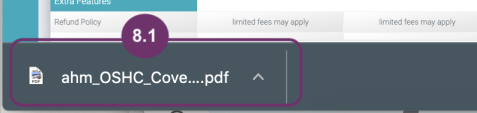
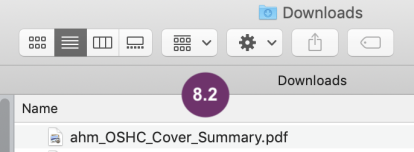
The downloaded file, depending on your browser, will appear at the bottom of the page or in Downloads folder. Click this to view the policy document.
9
Once you have decided which policy provider you will go for, click ‘Buy Now’ button directly above the policy provider logo. You will then be redirected to the ‘OSHC Application Wizard’. This is the next session.
Lesson 1 Health Cover | Session 2 OSHC Application Wizard
This is the OSHC Application Wizard. You have to accomplish 3 steps to finish this:
Student. Identify to whom the policy is for and complete his/her details.
Dependent. This is a required field if you have declared any partner or children in the ‘Request A Quote’ Page. You should indicate their details, too.
Review Policy. Review all your inputs to make sure before you submit.
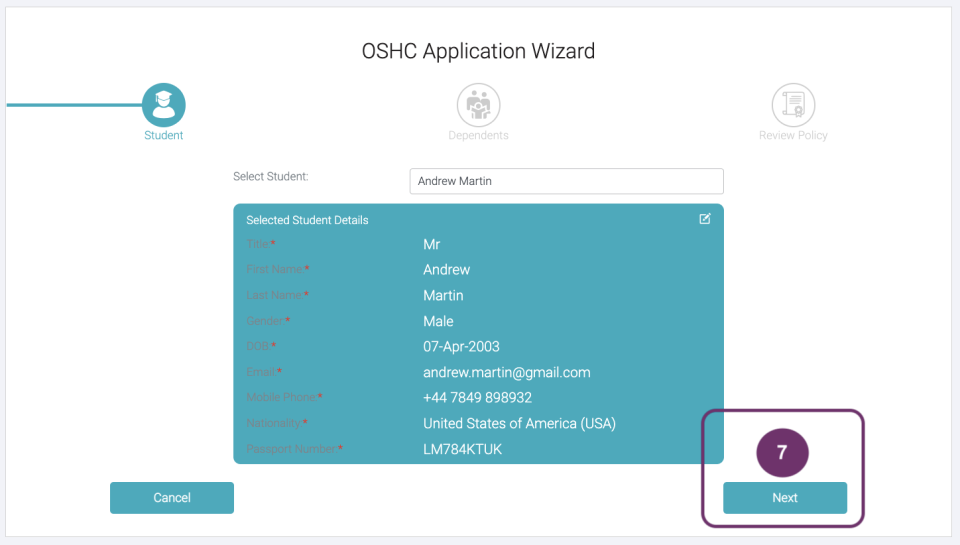
You can easily determine which step you are in through the colors. In the image below, it indicates that you are in the first step which is the ‘Student’.
In case you want to change the policy provider, just click ‘Cancel’ button to go back in the OSHC Quote Page.
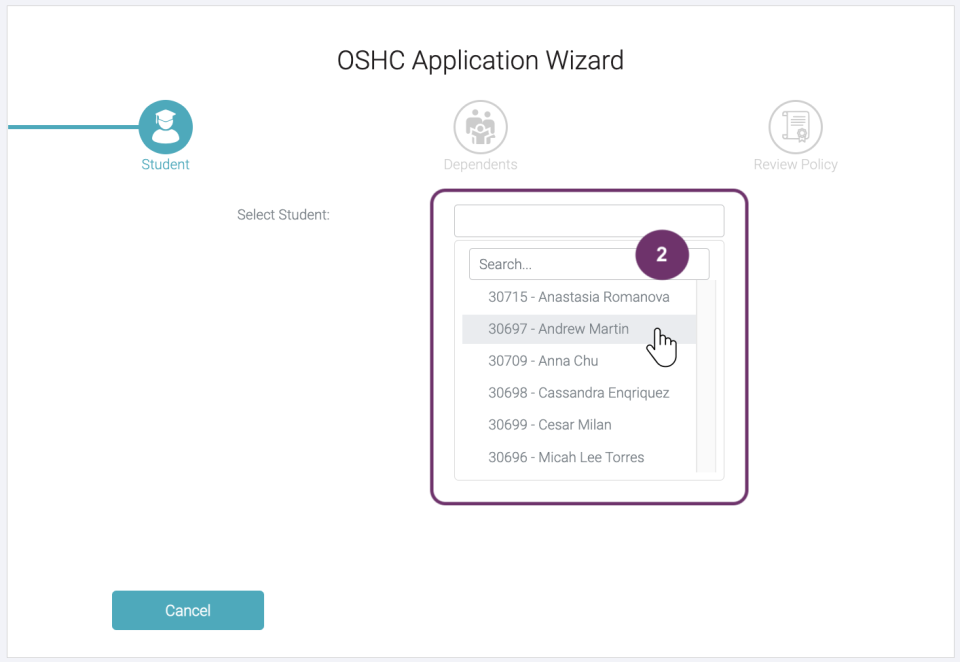
1
2
Click the box to see the list of students linked to you. Click the student name whom the policy belongs to. If the list is too long, you can just type the name in the Search box above the student list.
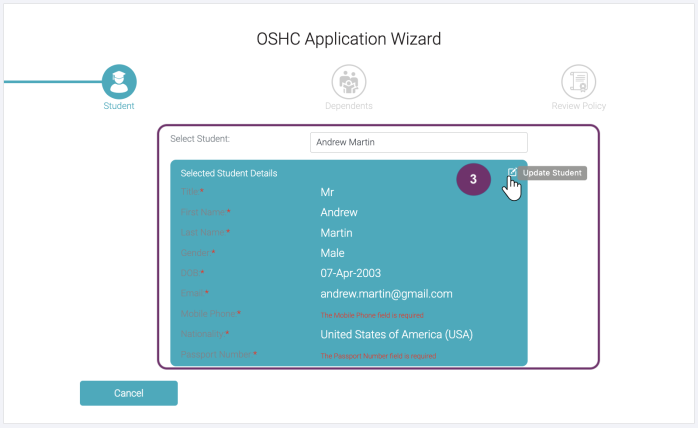
These are the details of the student you have selected. All the fields displayed here are mandatory. If there are fields not yet filled-out, click the update icon button at the top right corner of the green box.
At this point, if you have selected the wrong student, you can just click again the drop down list box to select another student.
3
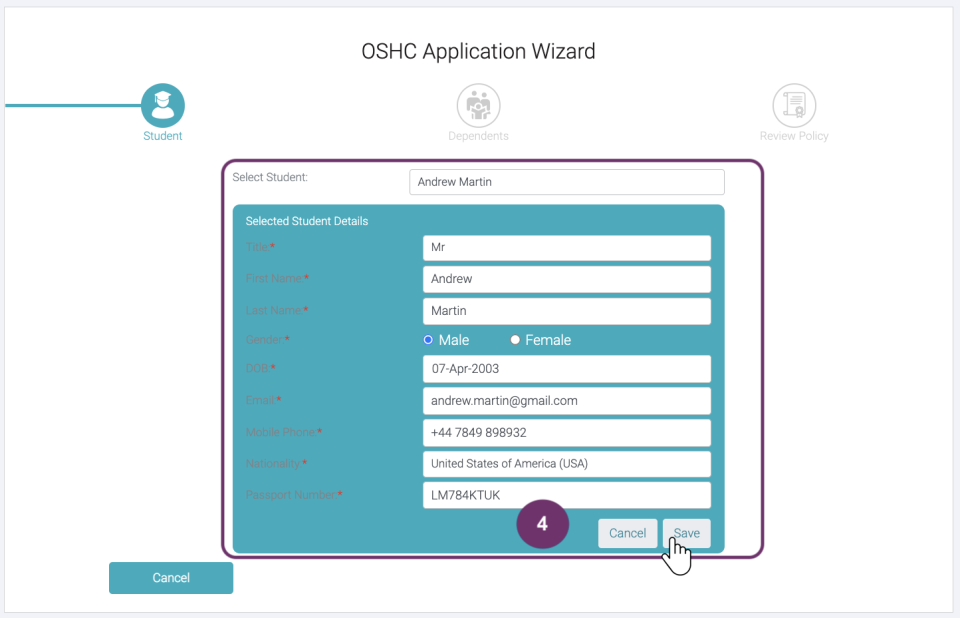
4
Fill out the missing fields to complete student details and click ‘Save’ button.
This pop-up confirms that the details you have added have been successfully saved to student record.
5
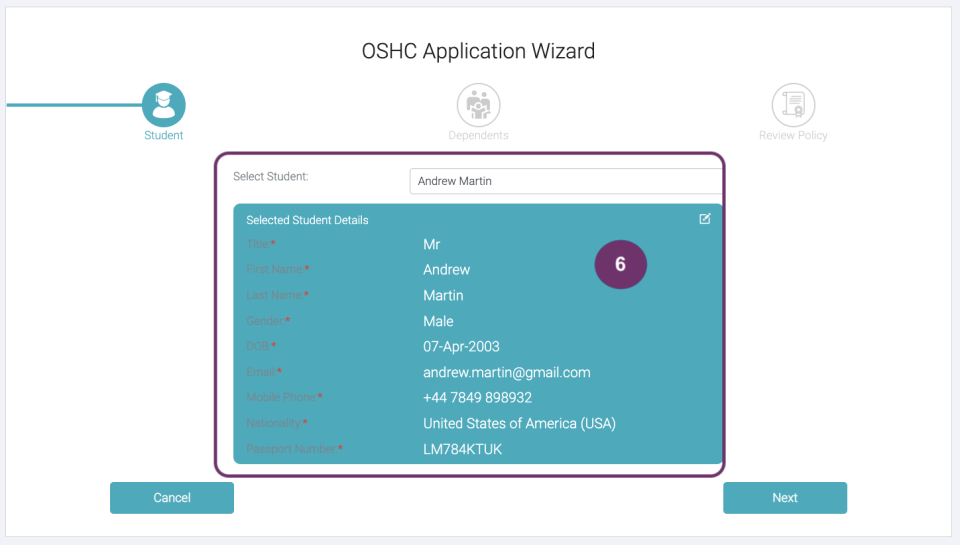
6
Review the details and update as necessary before proceeding. If you need to update anything, click the update icon button in the top right corner of the green box.
If all details are correct, click ‘Next’ button to proceed.
7
8
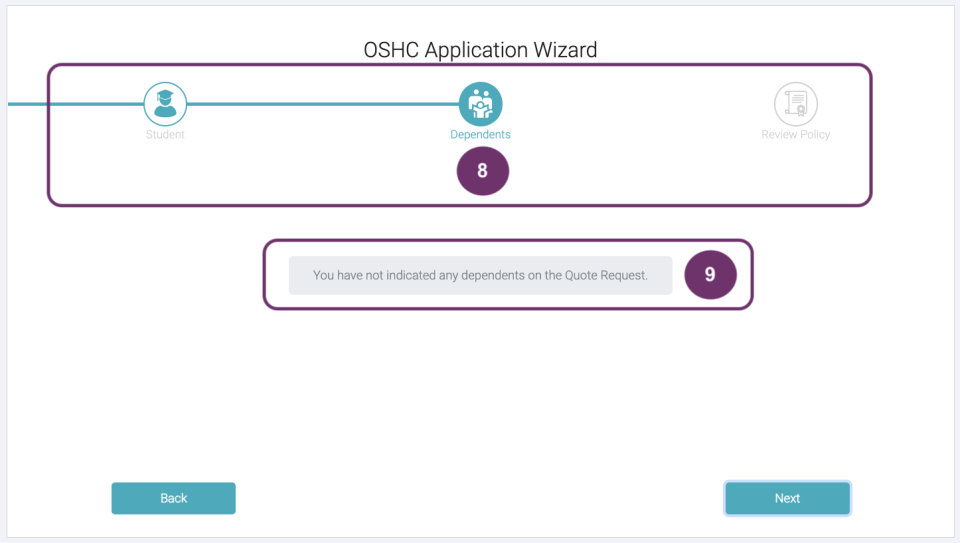
8. The color of the progress bar indicates that you are in step 2, Dependents.
9. The form you have to fill out depends on your input in the ‘Request A Quote’ page.
If you indicated 2 adults, then the other one is automatically your partner/ spouse.
If you indicated the no. of children you are traveling with, then you have to input the details of your children in the form.
If you indicated both (adult and children), then you have to fill out individual forms for them.
If you do not have any dependents, then the image below will appear.
Anyway, the forms that you have to fill out will display as to what you have selected in the ‘Request A Quote’ page. So, no need to worry about this. Just prepare the details especially the Passport Number, so you will have a smooth flow in filling out the fields. Click ‘Save’ button once you are done.
Click ‘Back’ button below if you have to change or just want to review the previous step, Student.
9
10
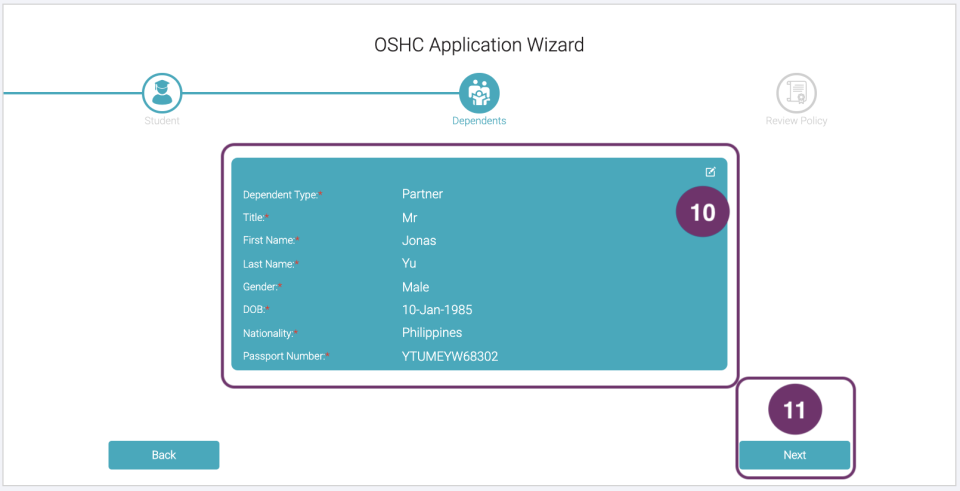
An example of filled out Dependent details in case you have any.
10. Review the details and update as necessary before proceeding. If you need to update anything, click the update icon button in the top right corner of the green box.
11. Click ‘Next’ button to proceed.
Click ‘Back’ button below if you have to change or just want to review the previous step, Student.
11
12
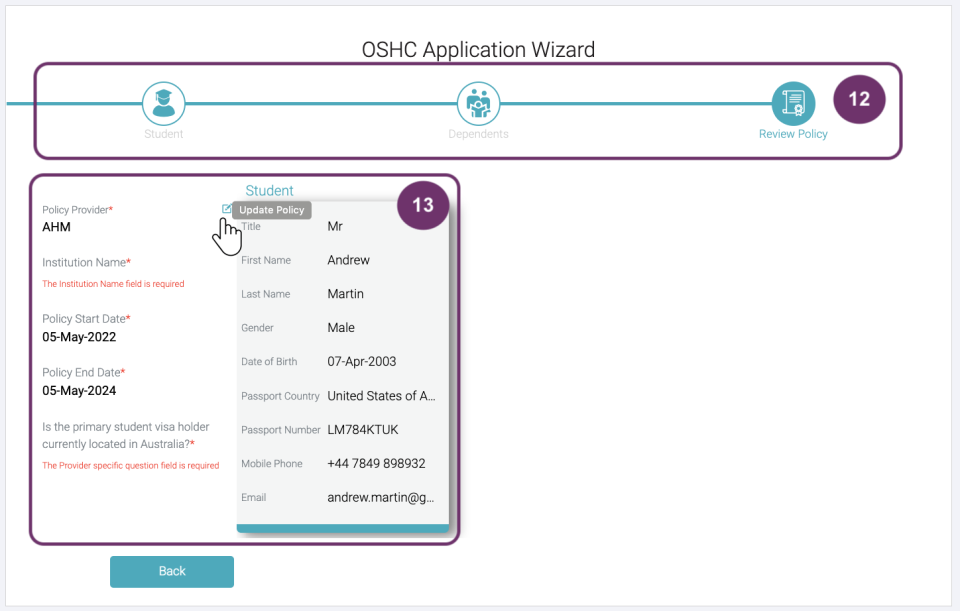
12. The colored step is the last one, means you have finally reached the last step, Review Policy.
13. In this step you have to double check if all the details you indicated from the previous steps are all correct and final. There’s one more field you have to fill out which is the Institution Name. Click the update icon button across the Policy Provider field to complete this.
13
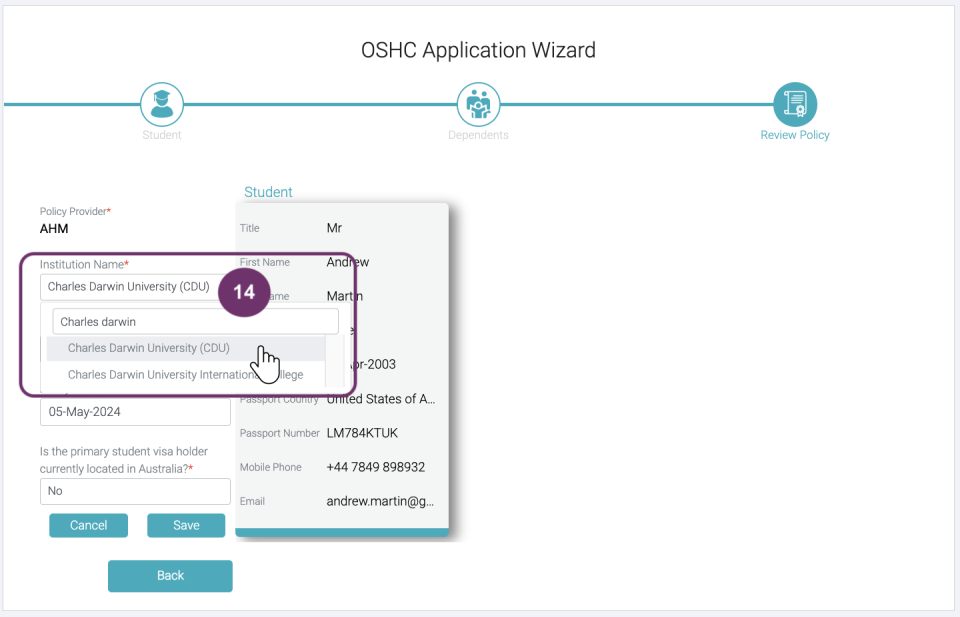
14
14. Select the institution where the student will be studying.
Review the details, click Save.
15
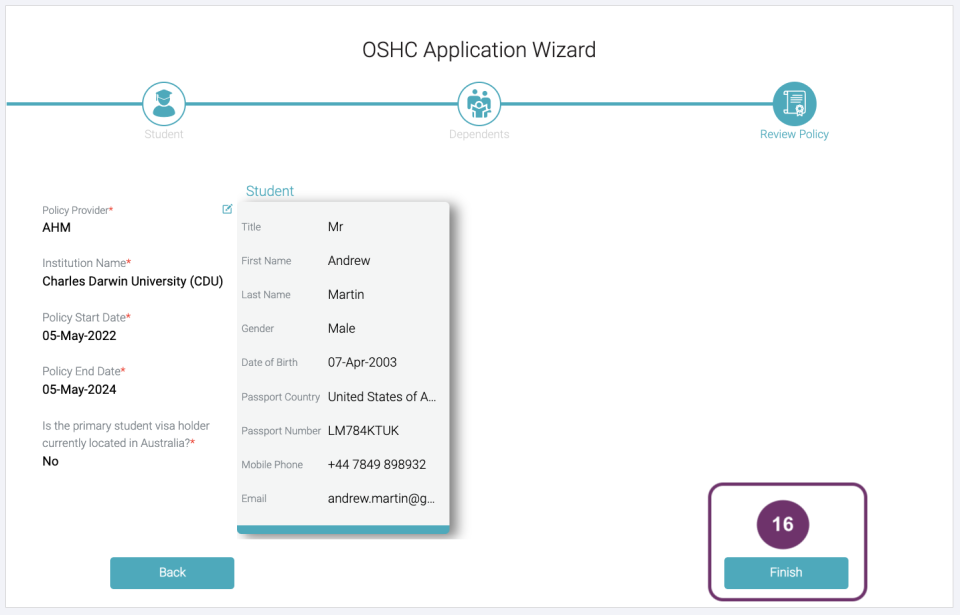
16
Click finish if you are all satisfied with your input details. Please review this carefully as you won’t be able to update this on your own.
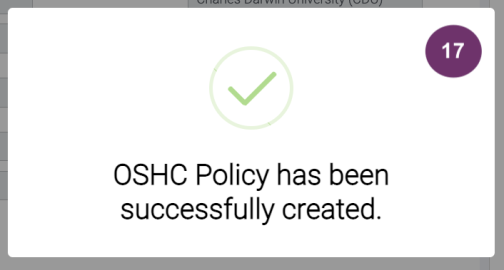
A pop-up will appear saying that an OSHC Policy have been successfully created.
17
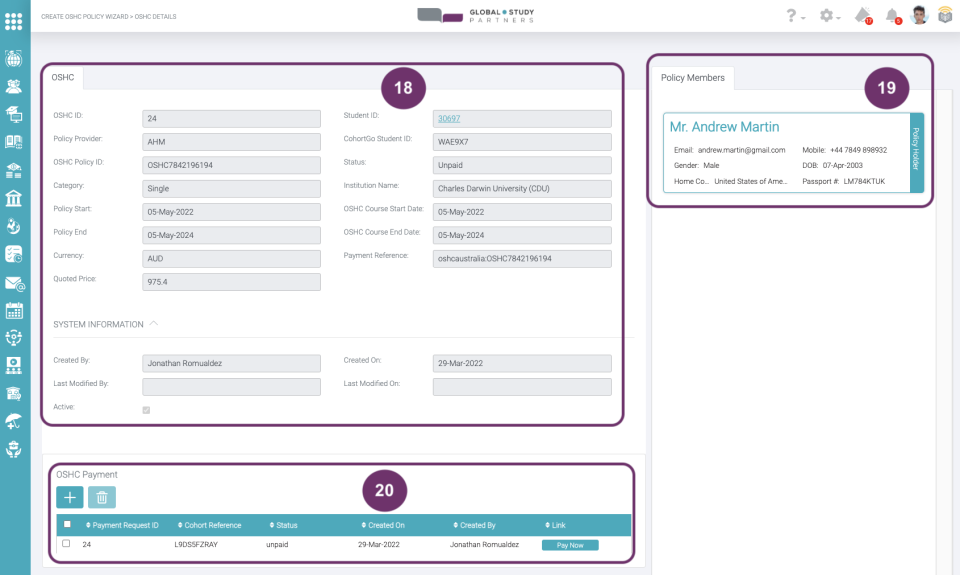
18
18. You will then be redirected to a page where you can once more review all the details and status of the policy. Take note on some of the items here which you will use when doing the payment transactions online.
19. These are all the policy members:
Policy Holder. This is the student.
Partner. If there are declared 2 adults.
Children. If there is at least one child declared.
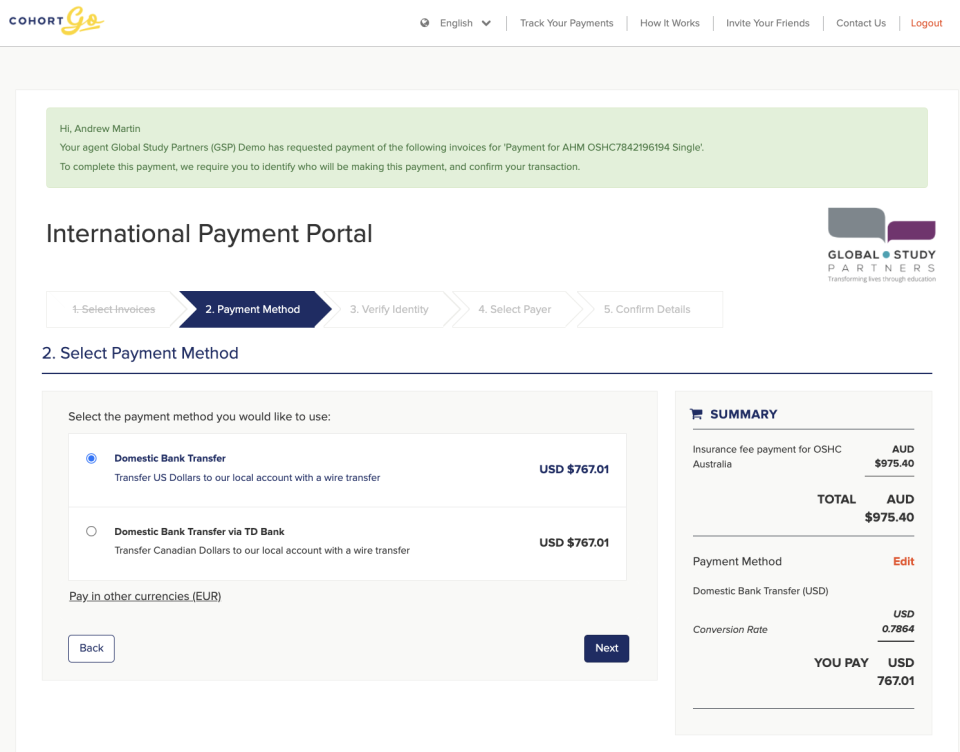
20. Click ‘Pay Now’ button to be redirected to the payment portal for international studies called, Cohort Go Payments. It should look like the image below:
Just fill out all the needed details in this payment portal, follow the succeeding instructions in Cohort Go and you should all be set in having that insurance cover.