next
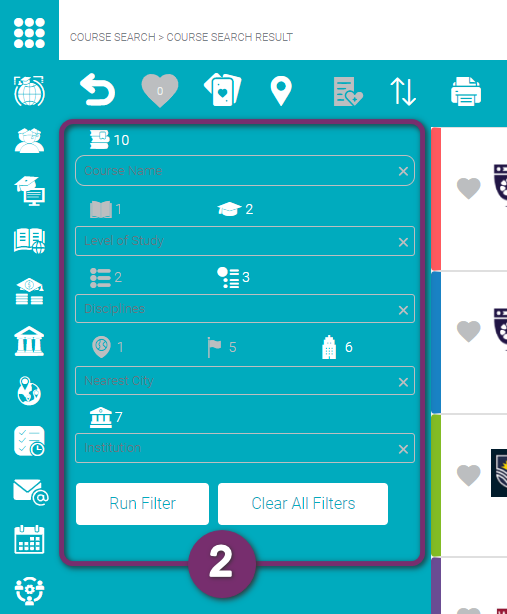
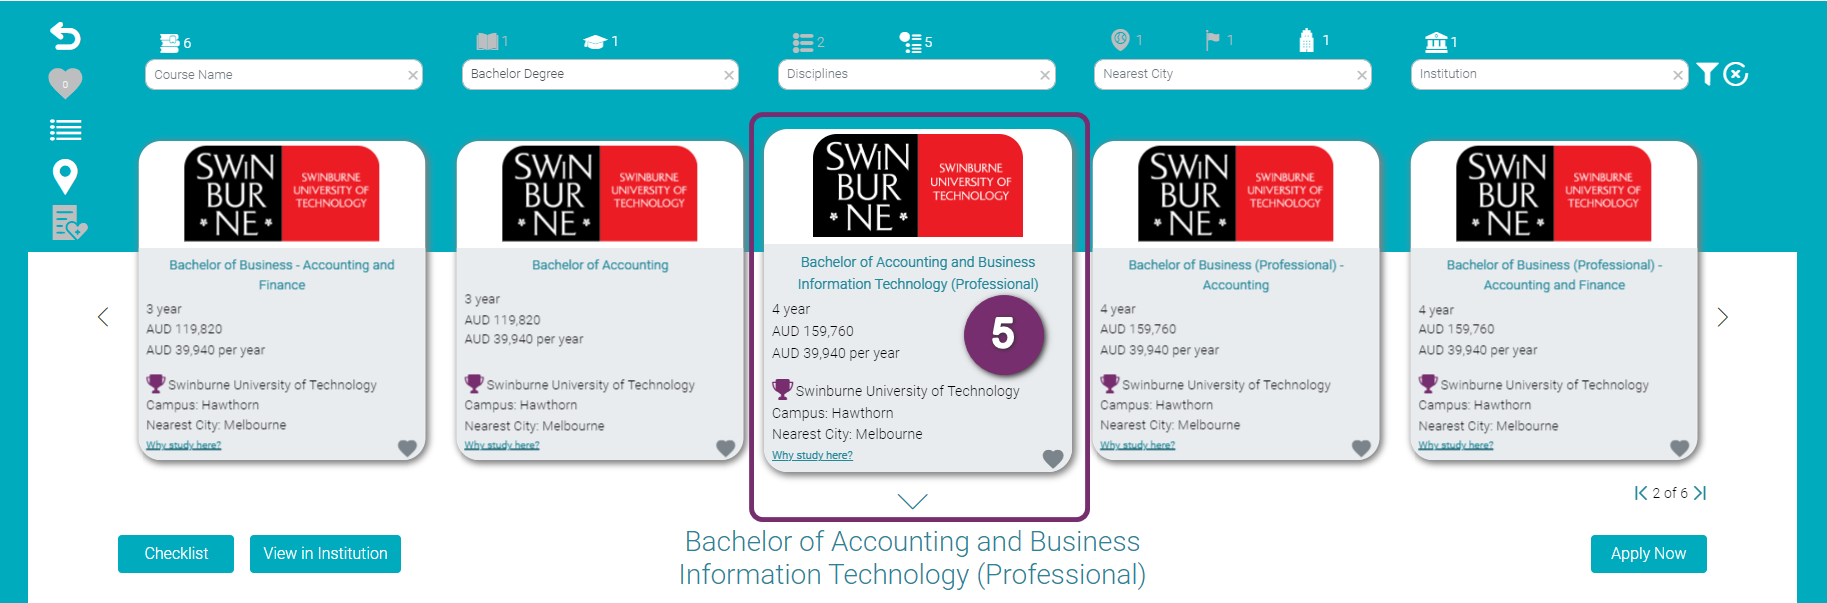
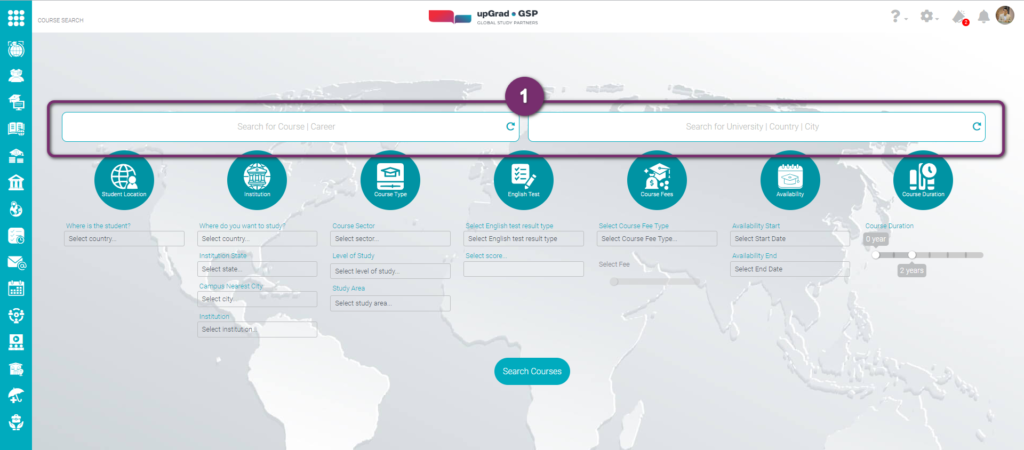
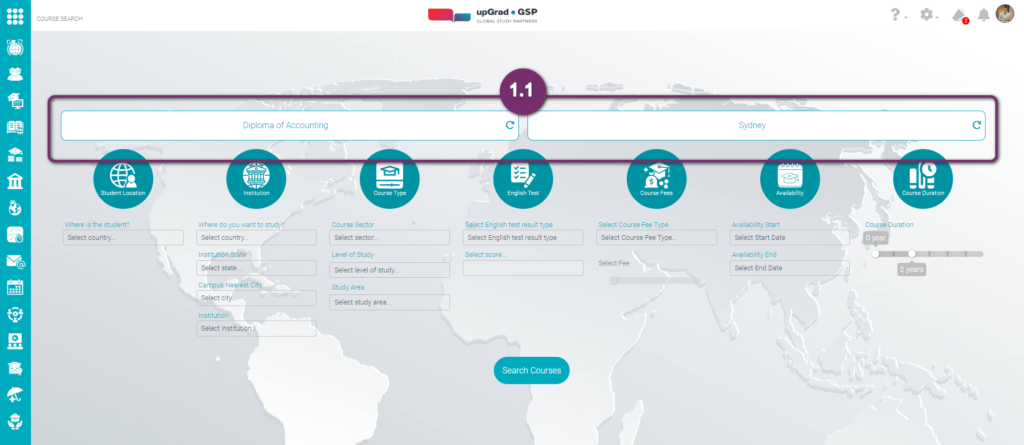
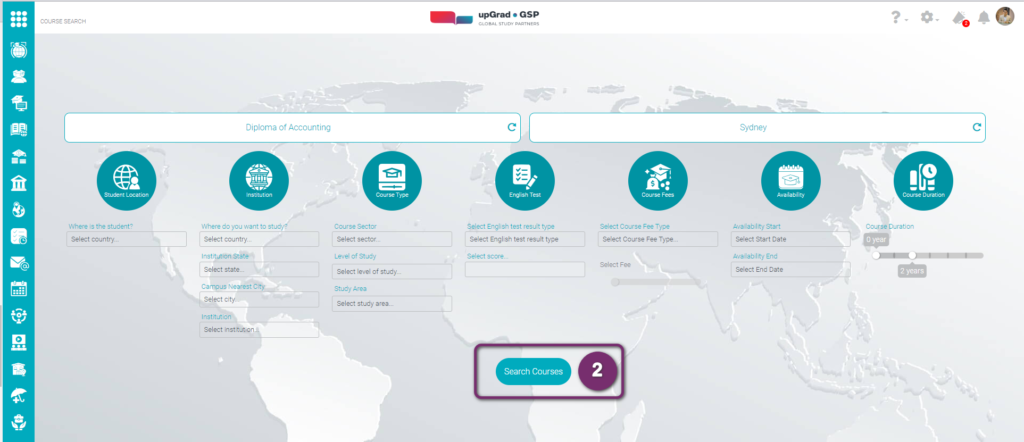
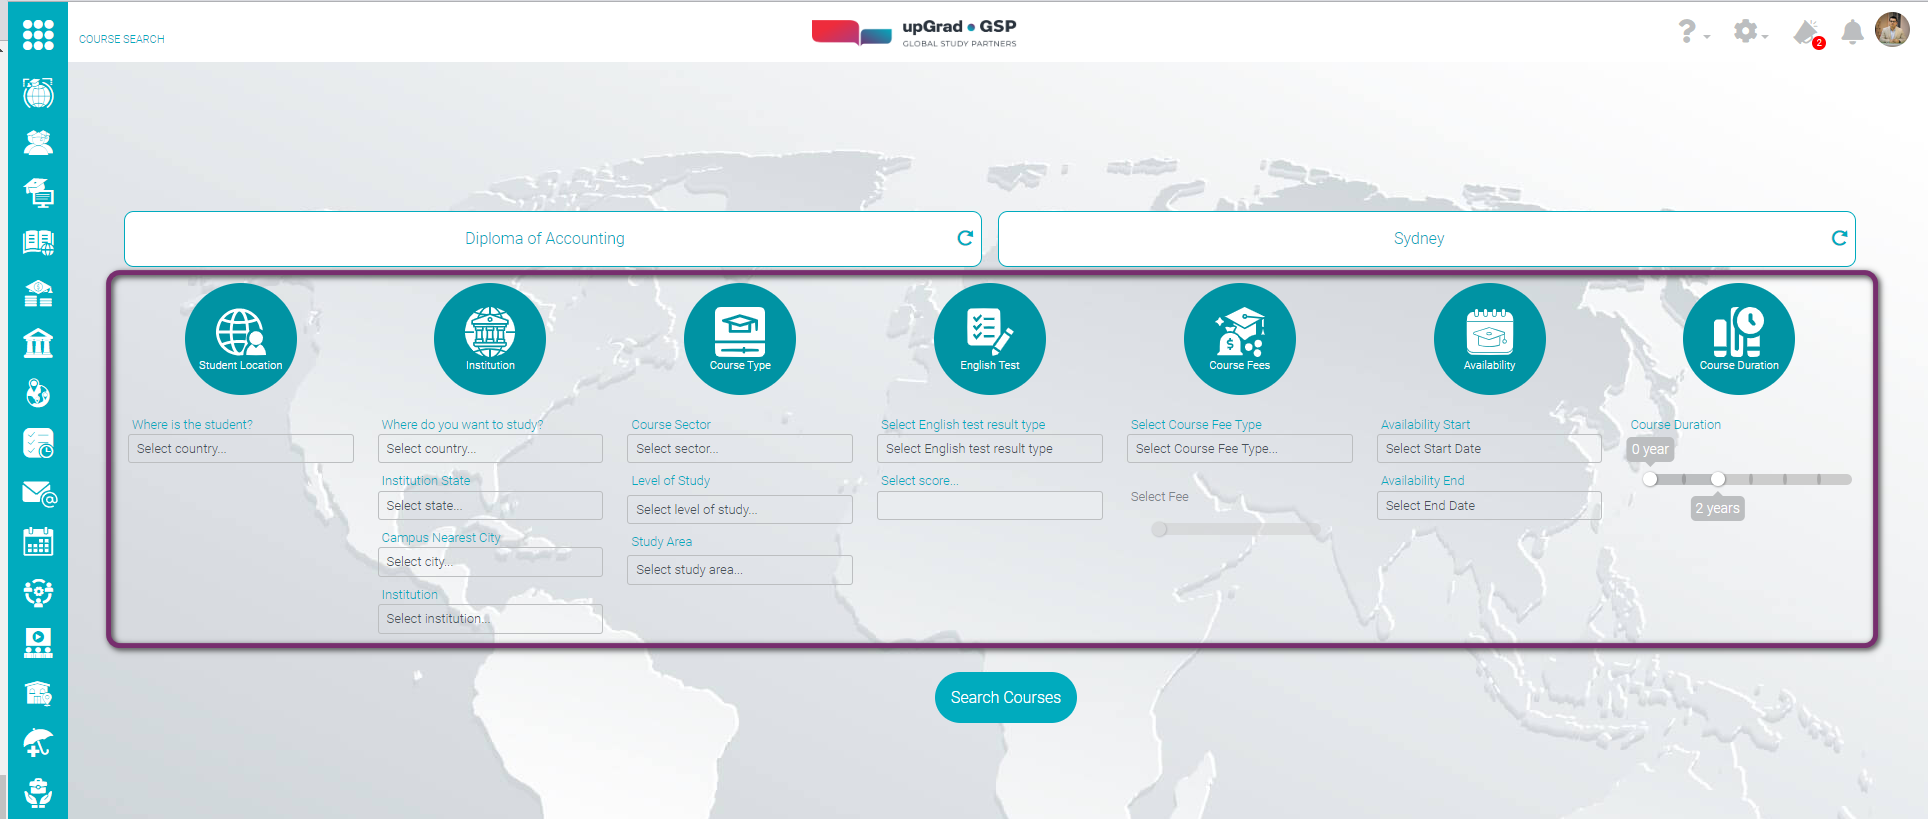
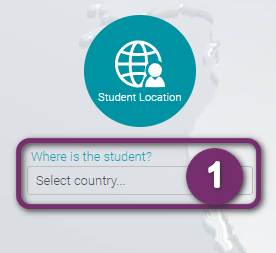
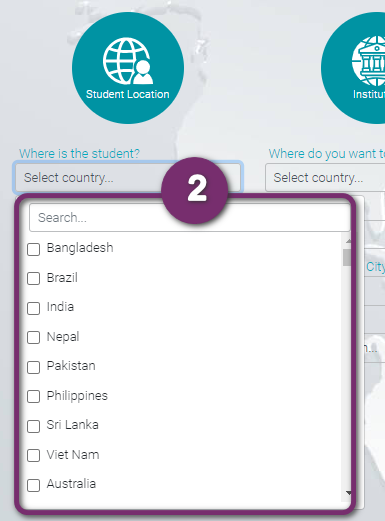
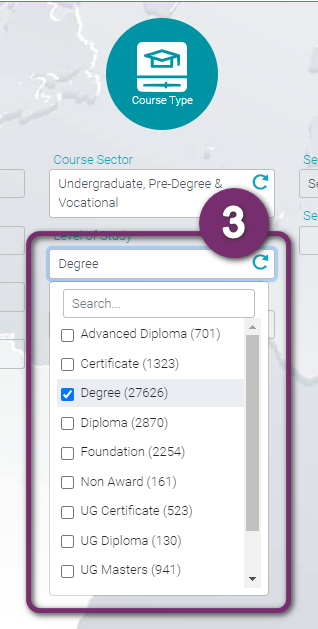
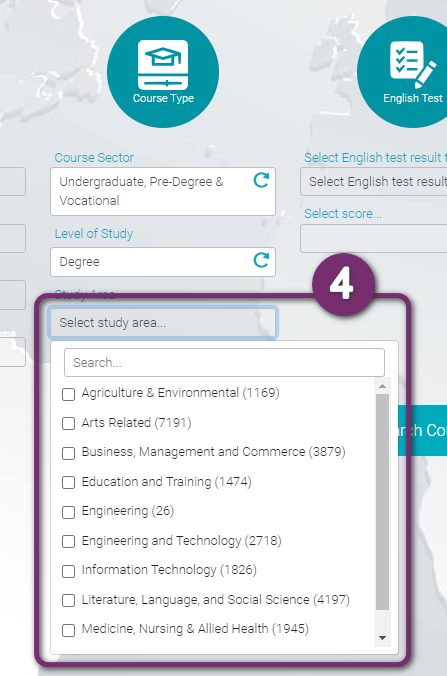
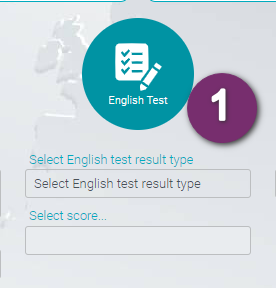
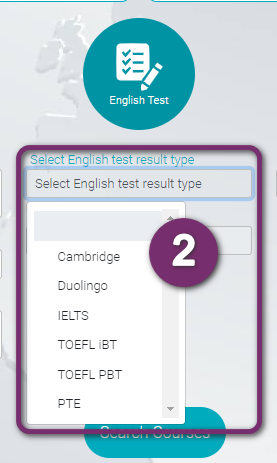
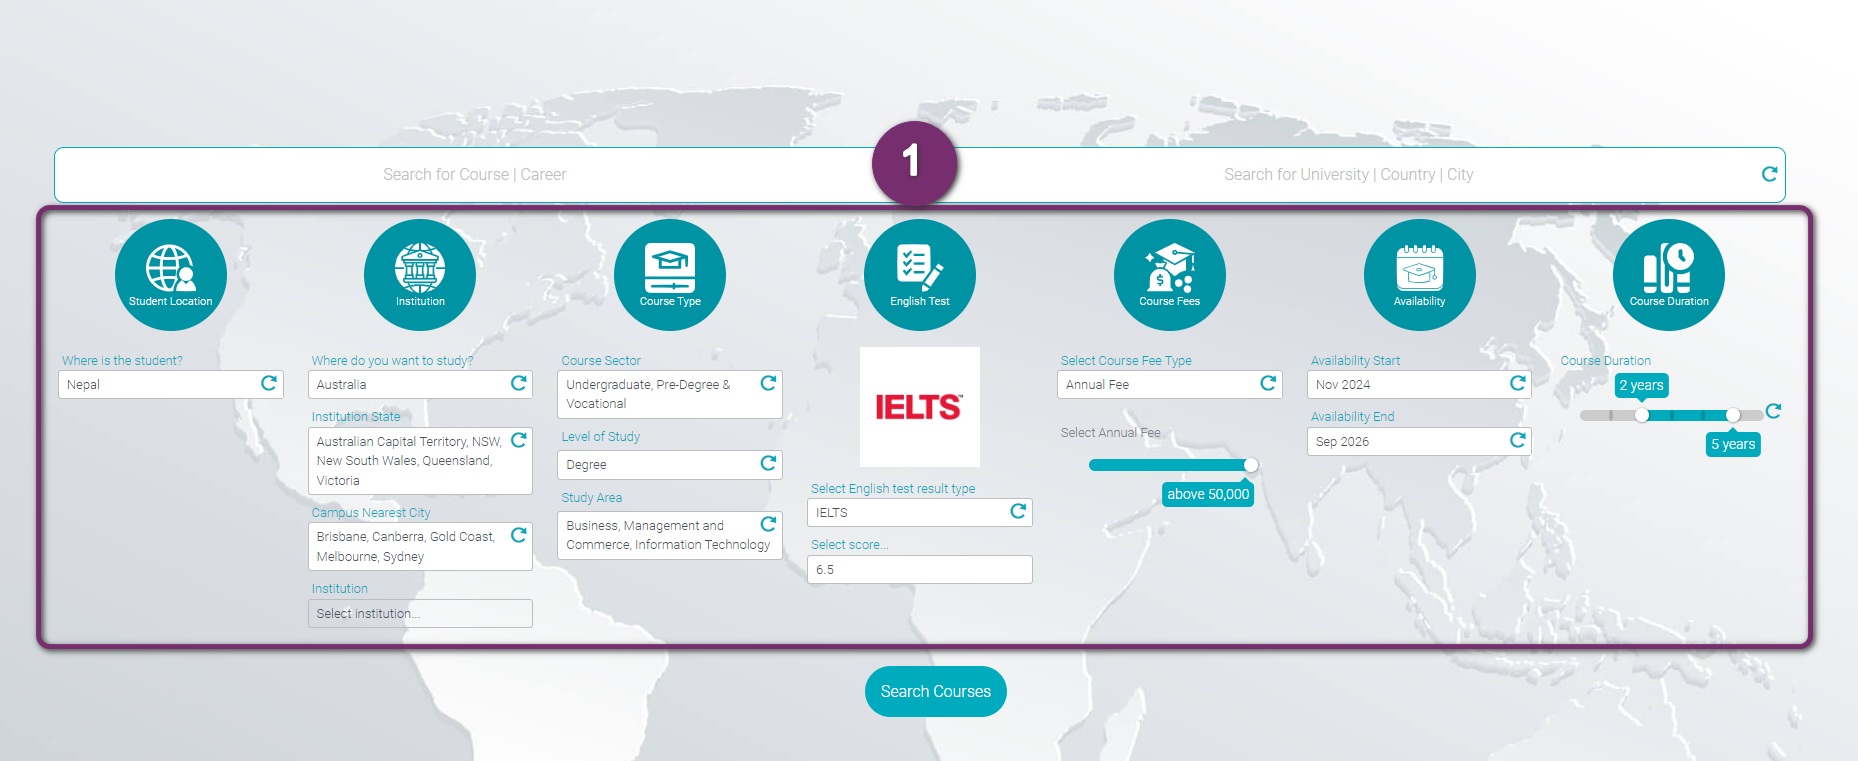
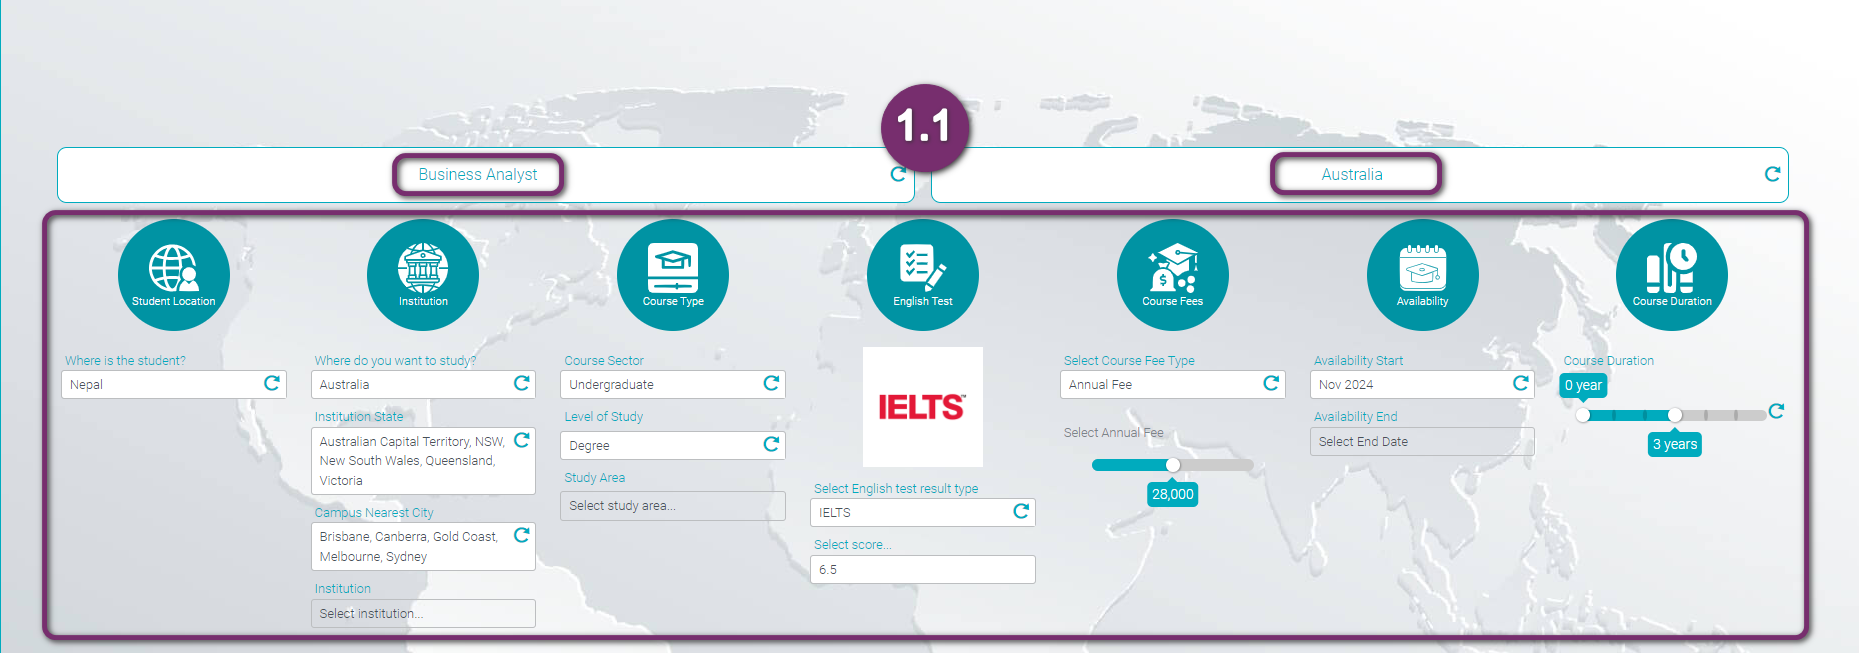
Search Using Filters
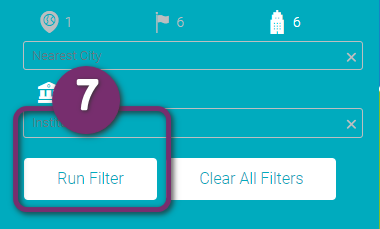
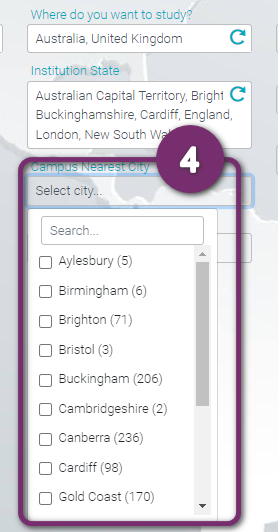
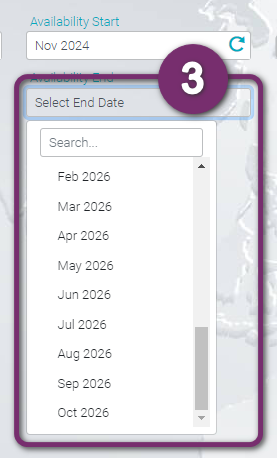
Narrow down your search to find the desired course

next
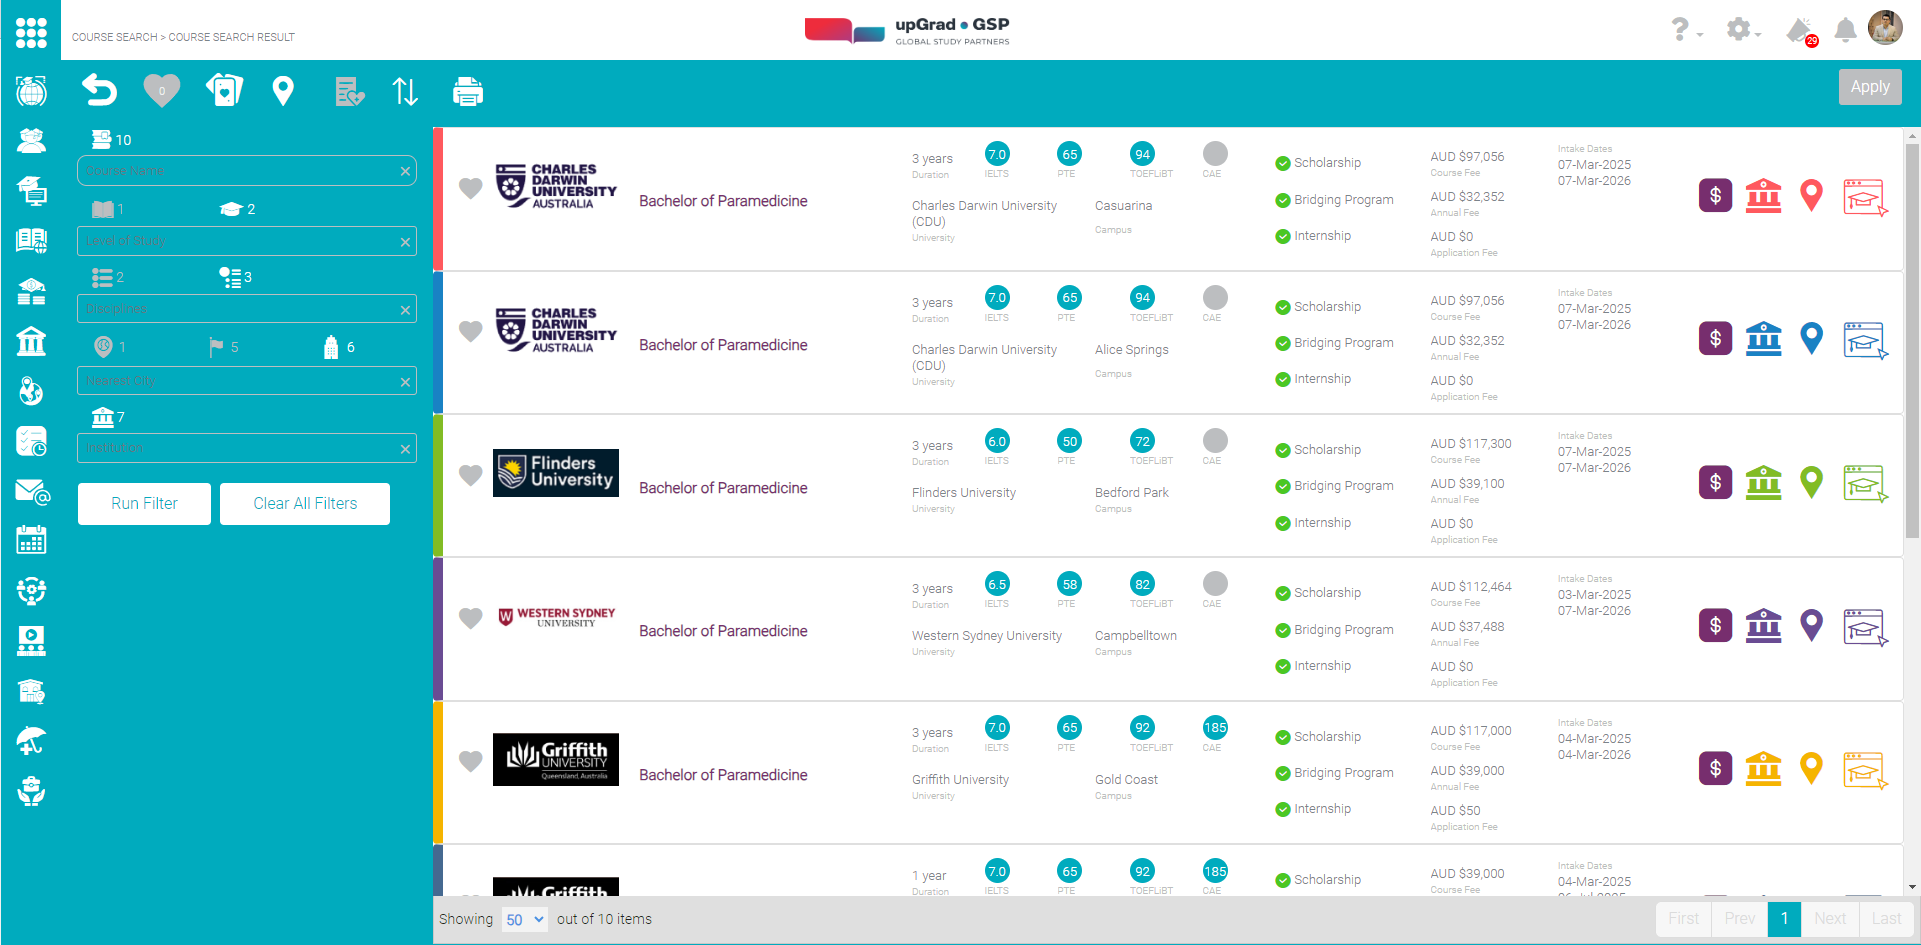
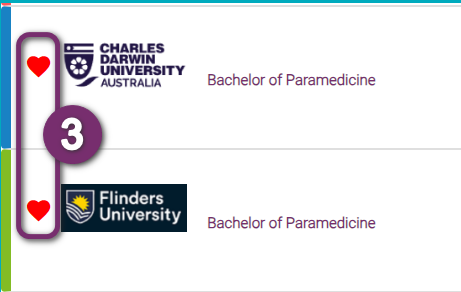
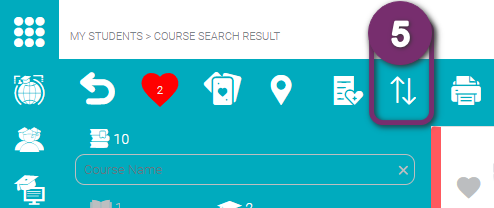
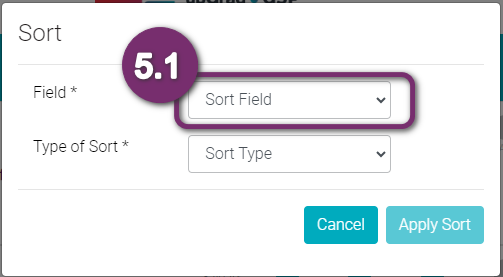
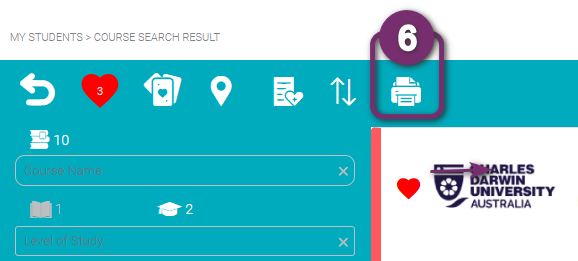
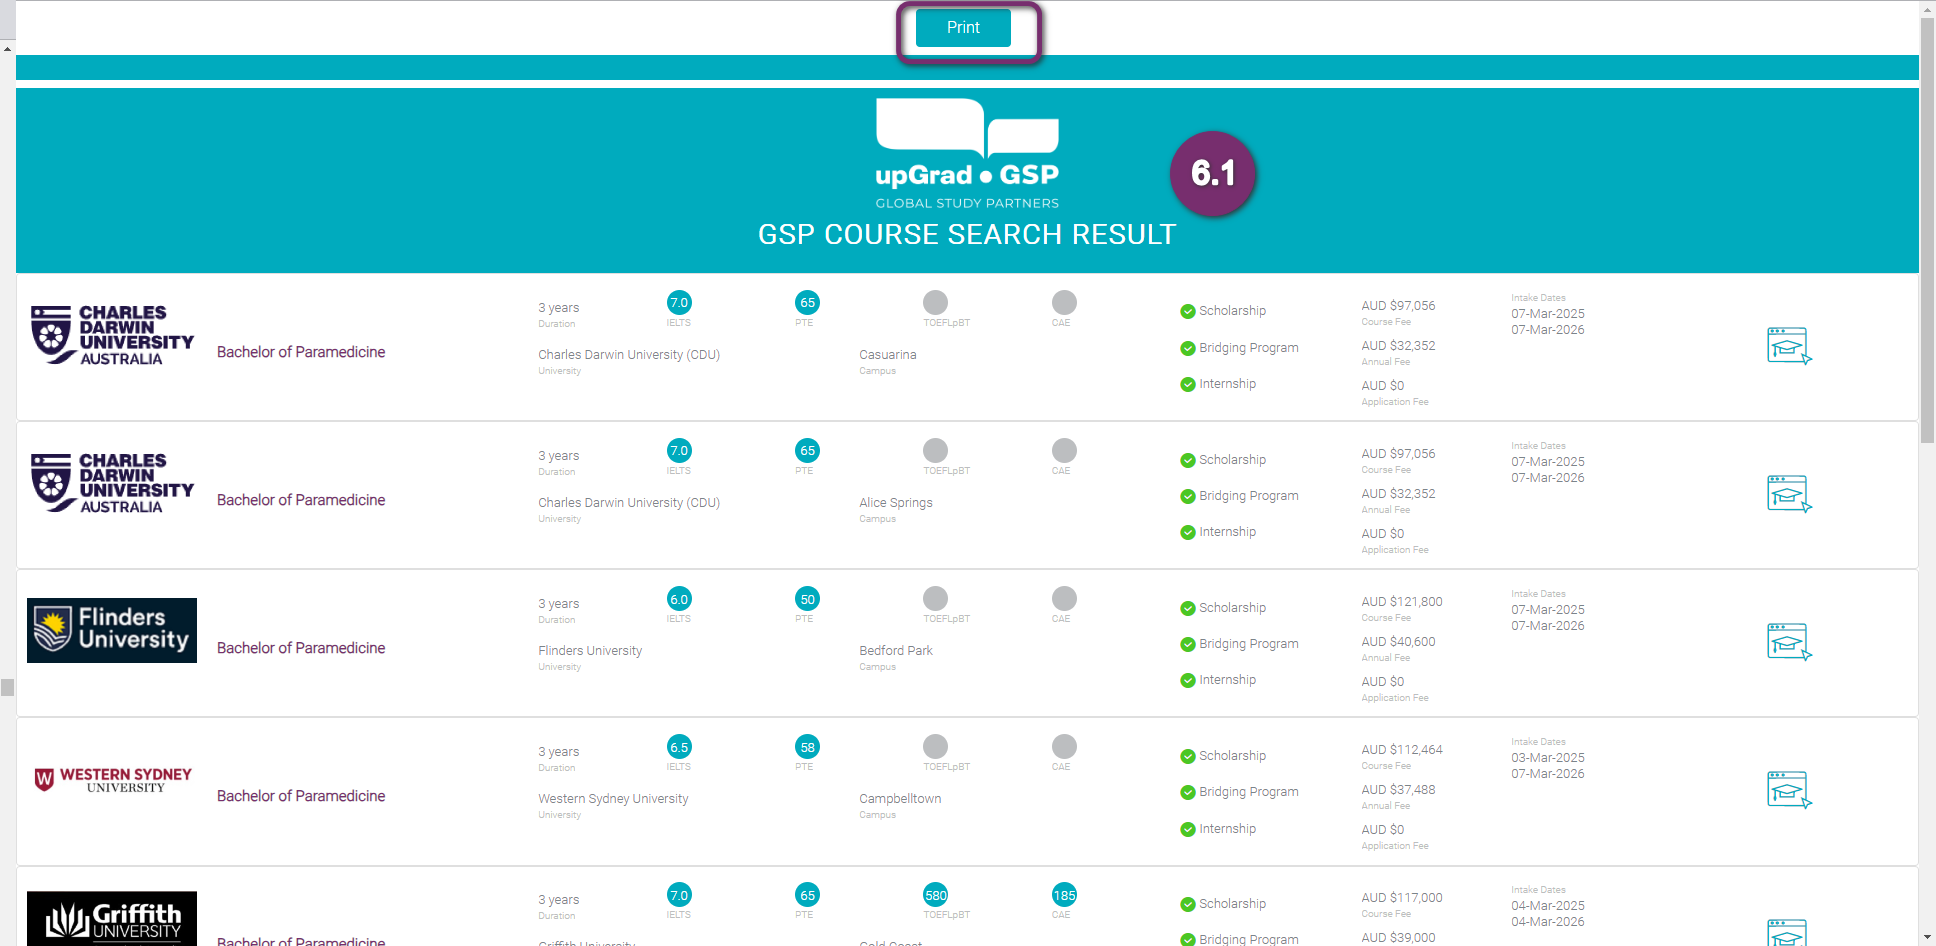
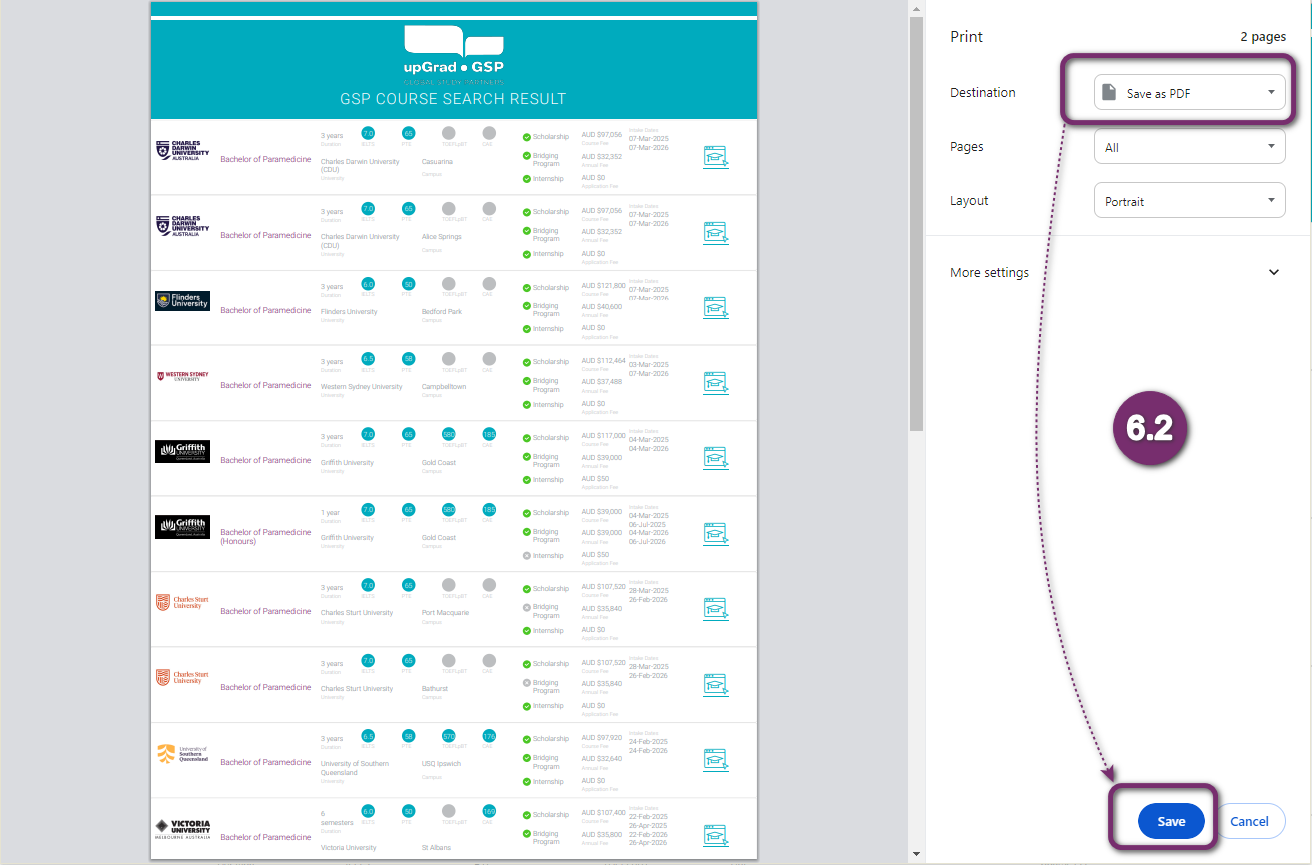
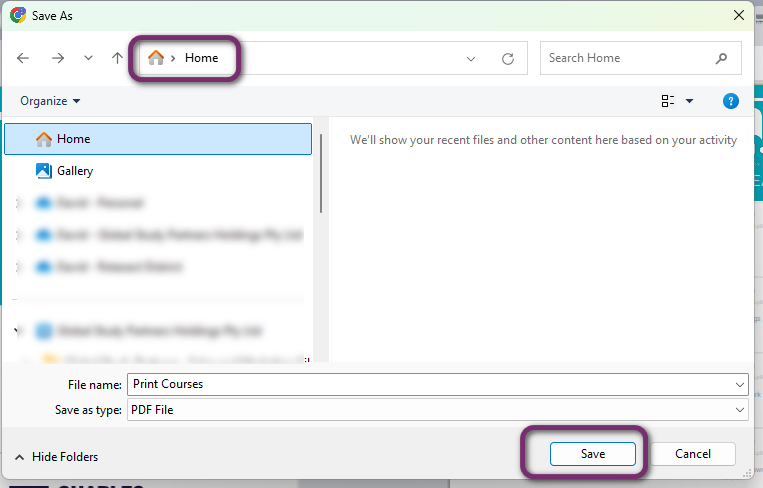
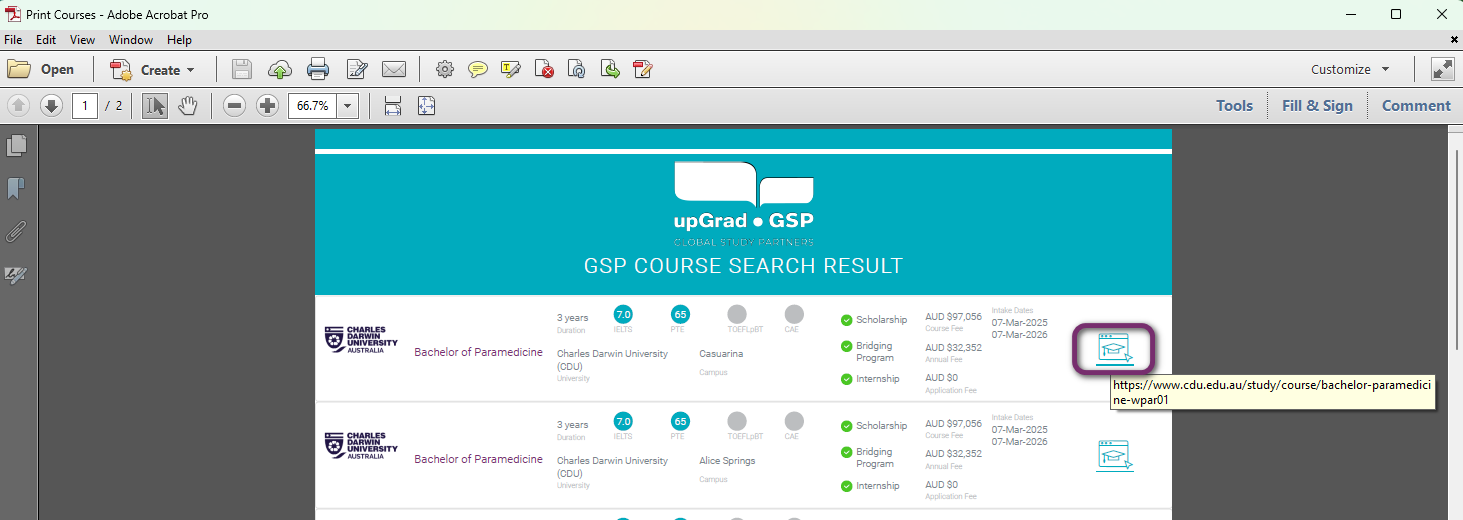
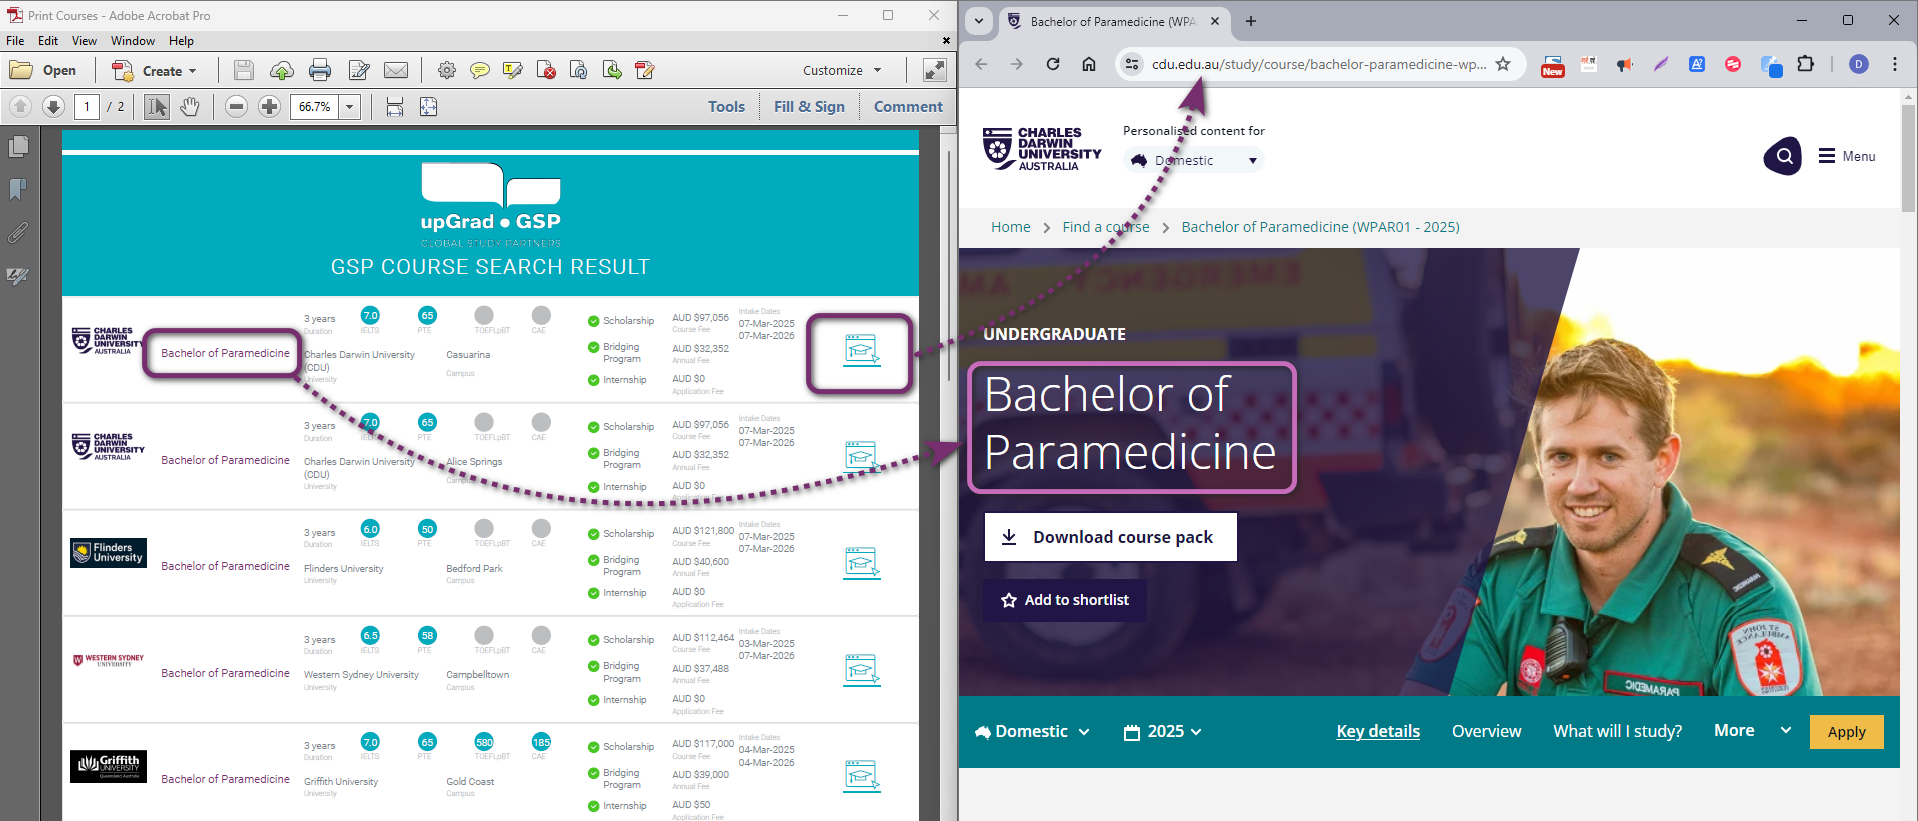
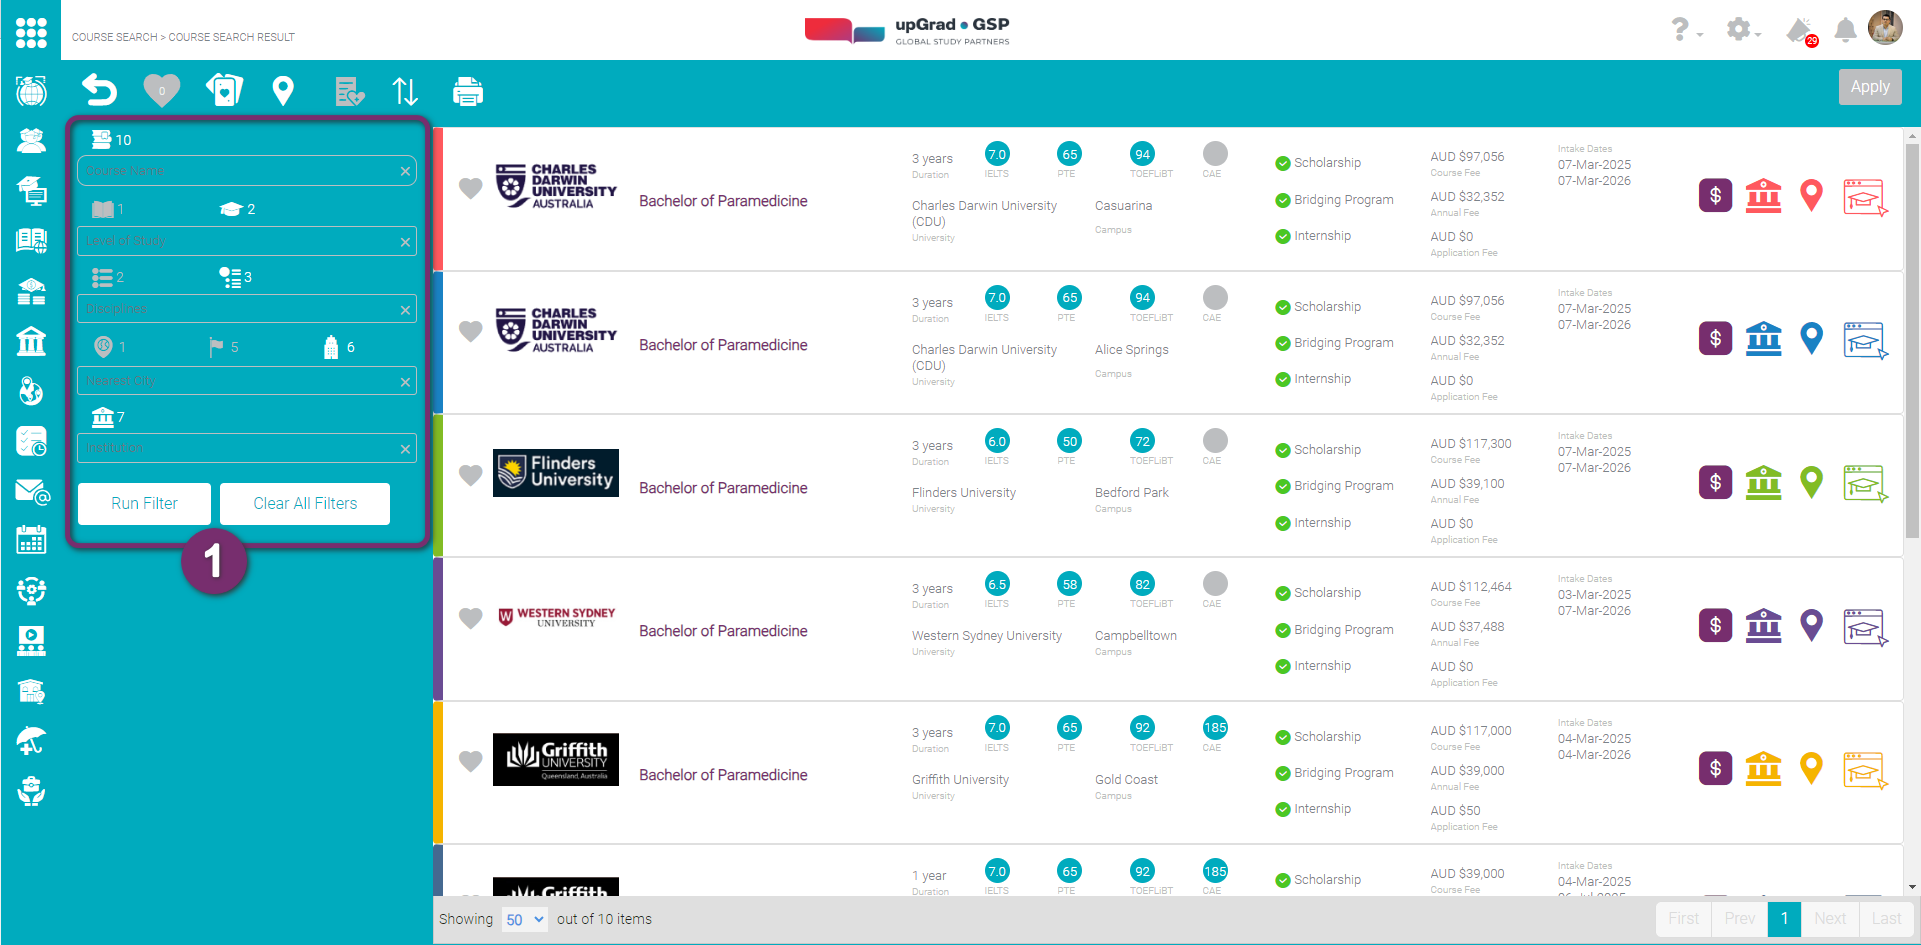
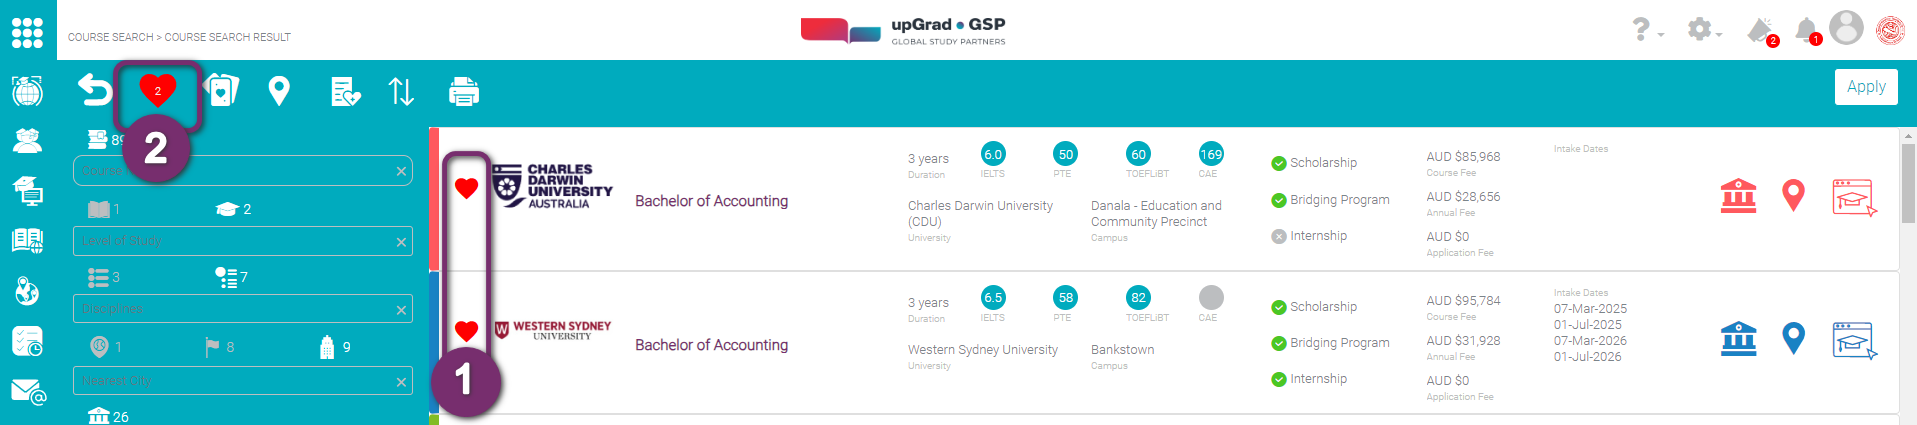
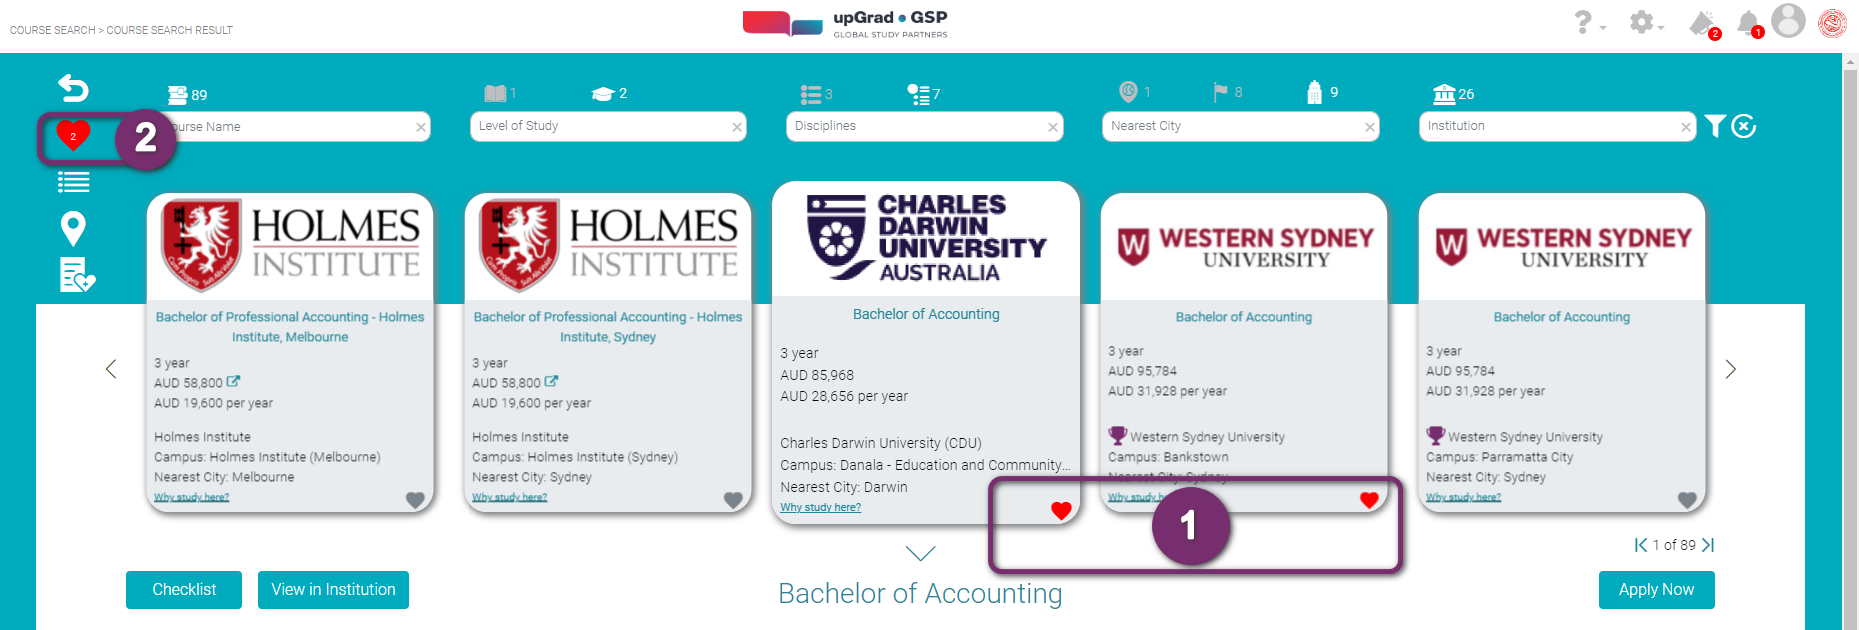
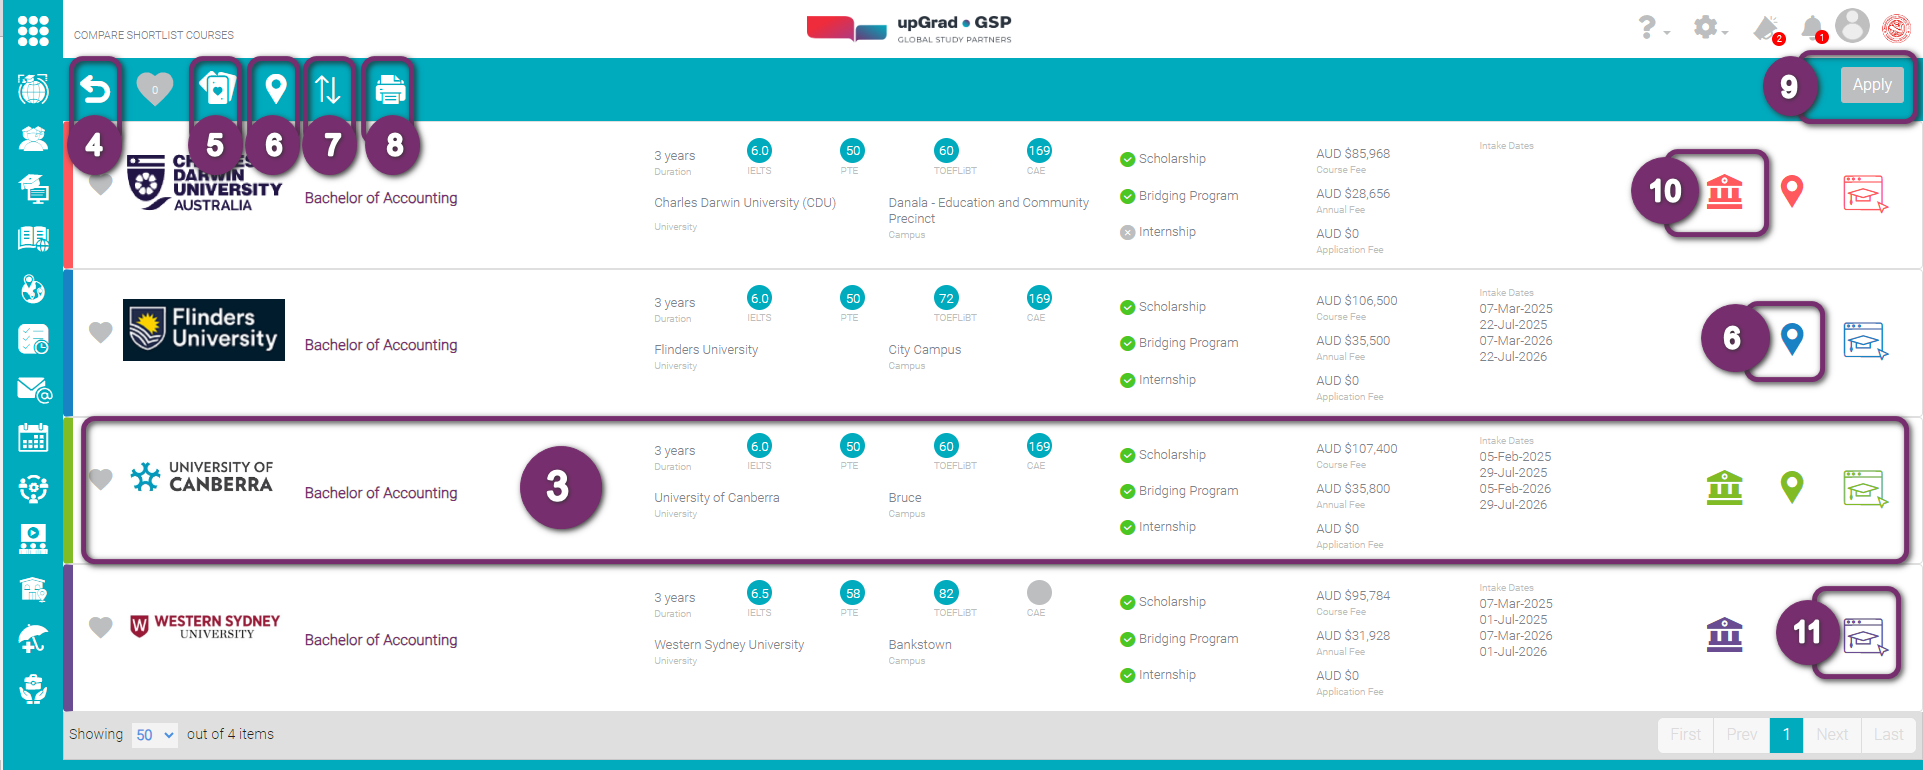
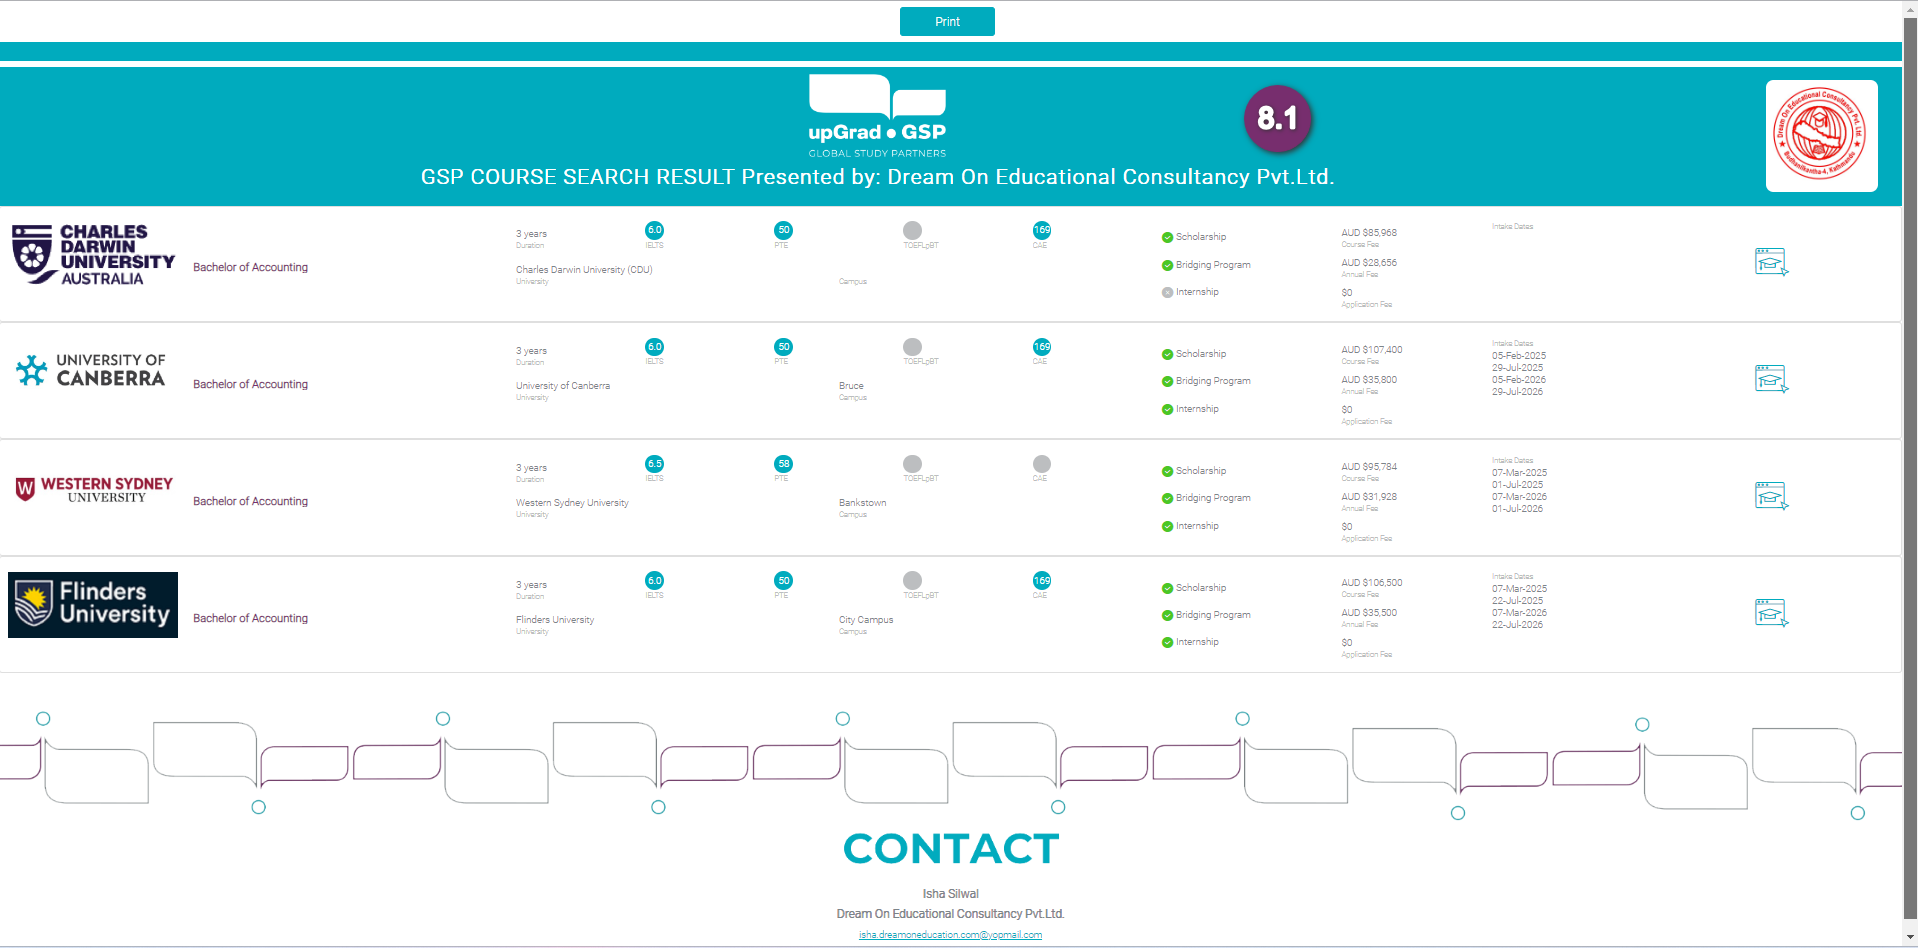
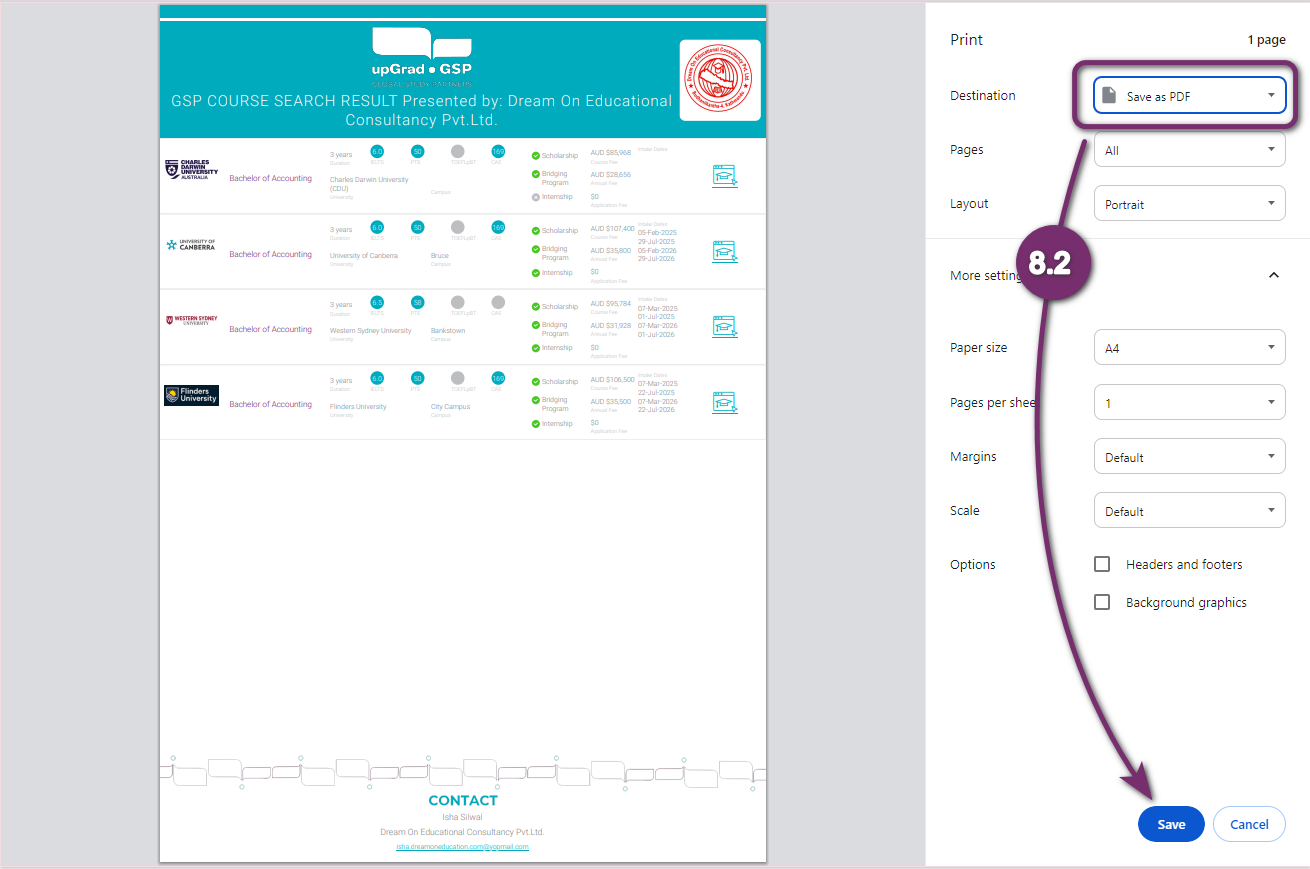
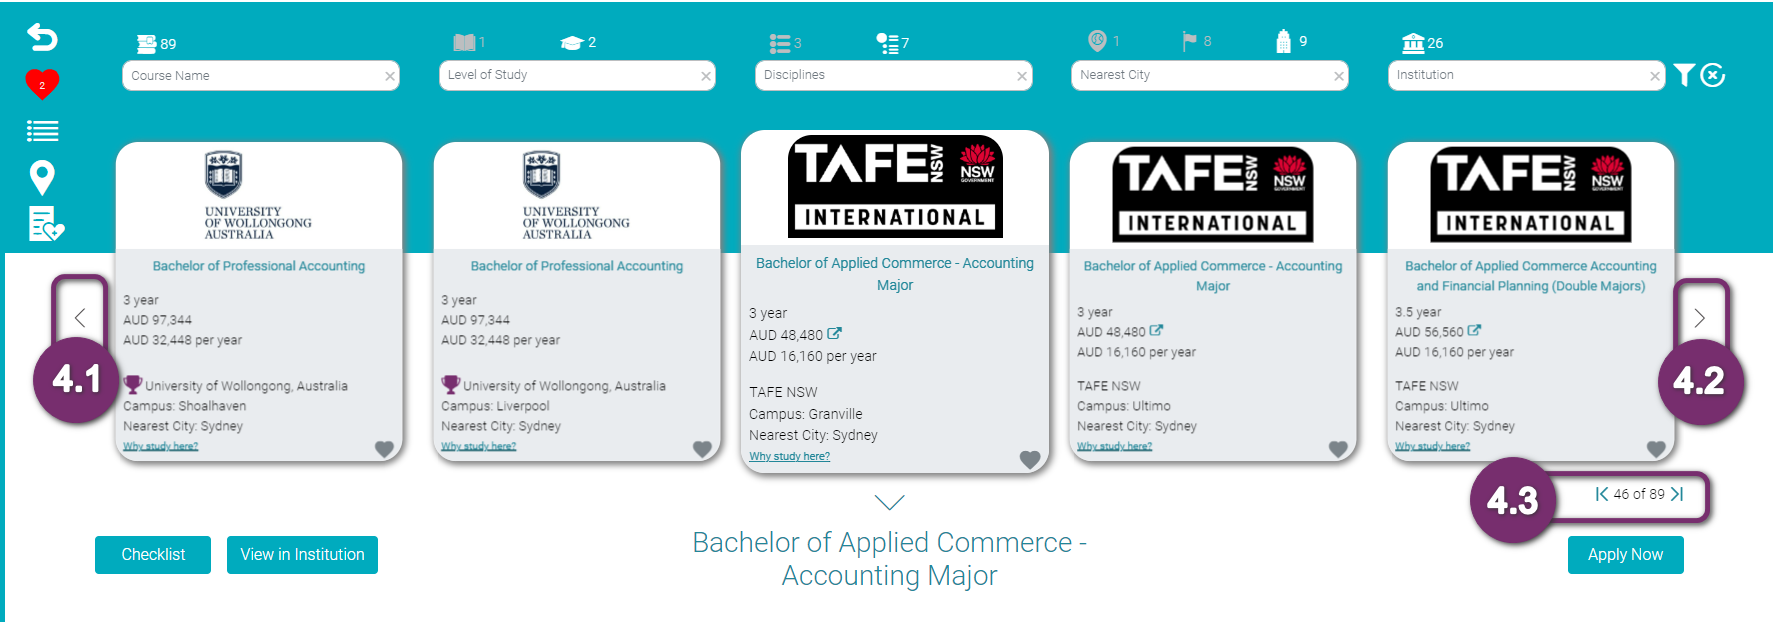
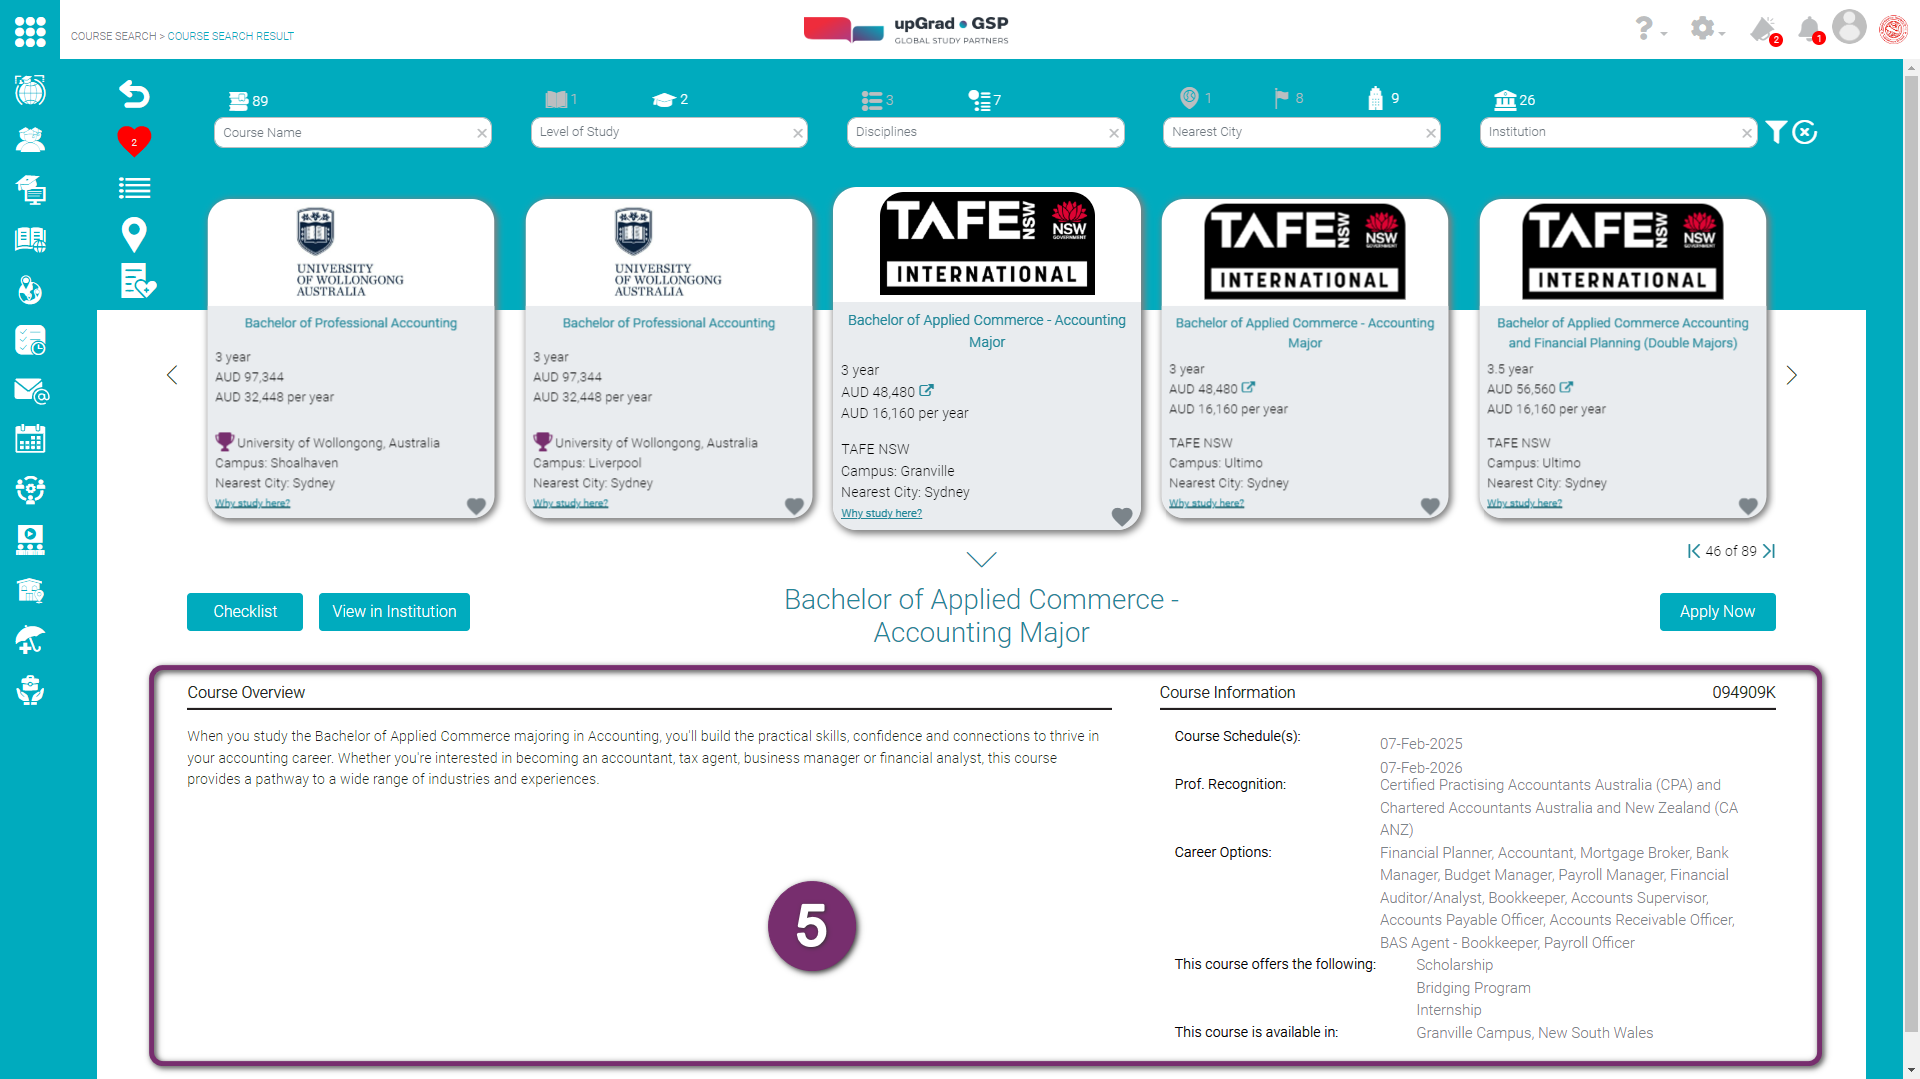
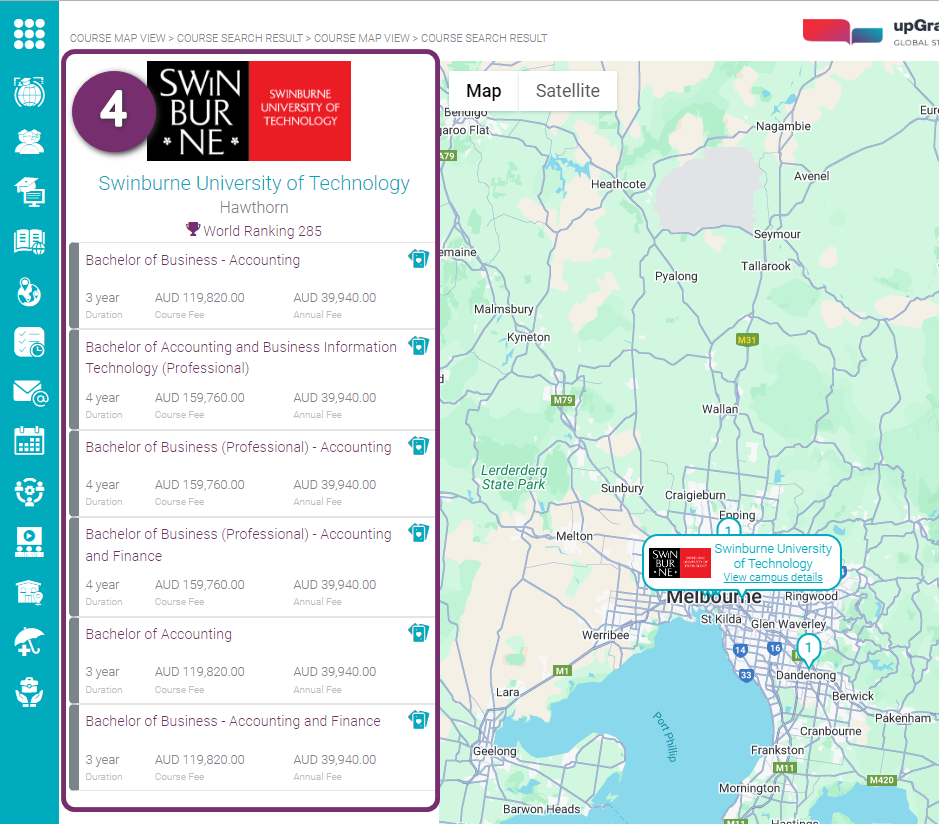
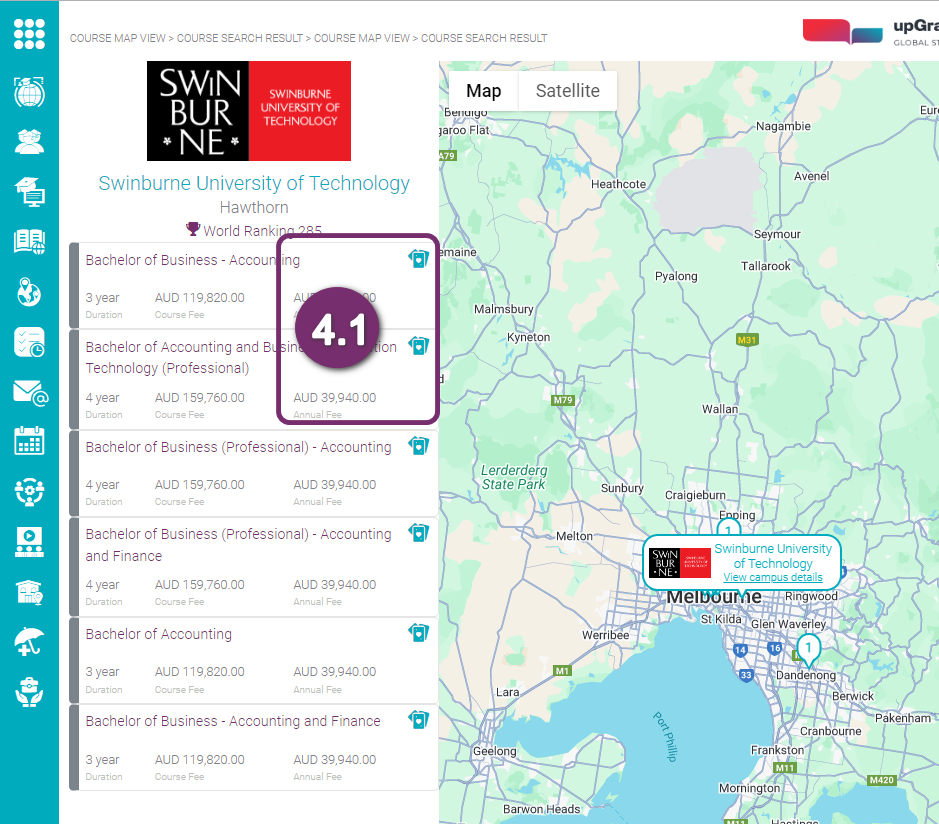
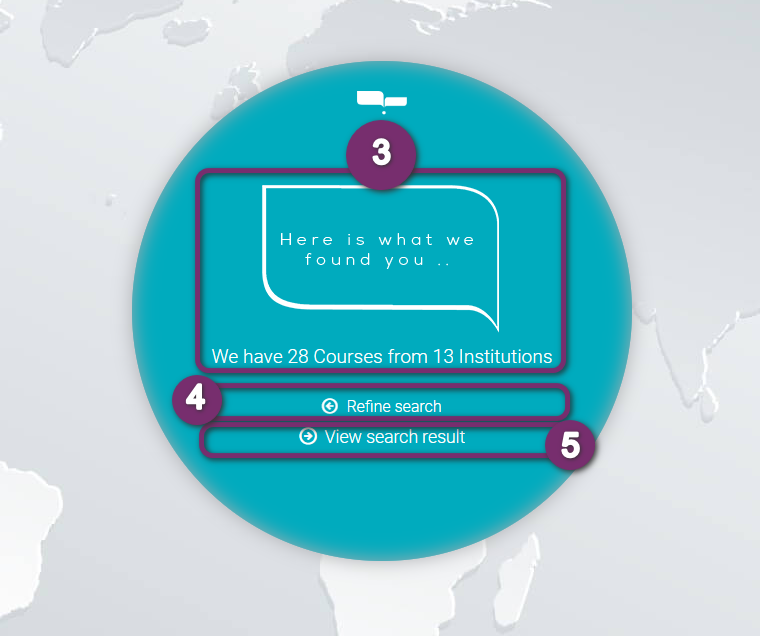
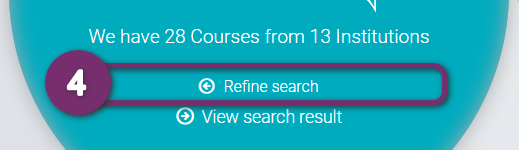
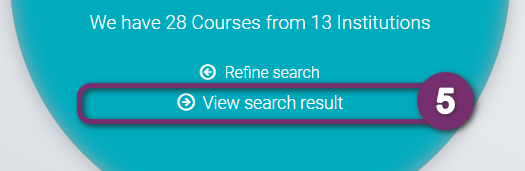
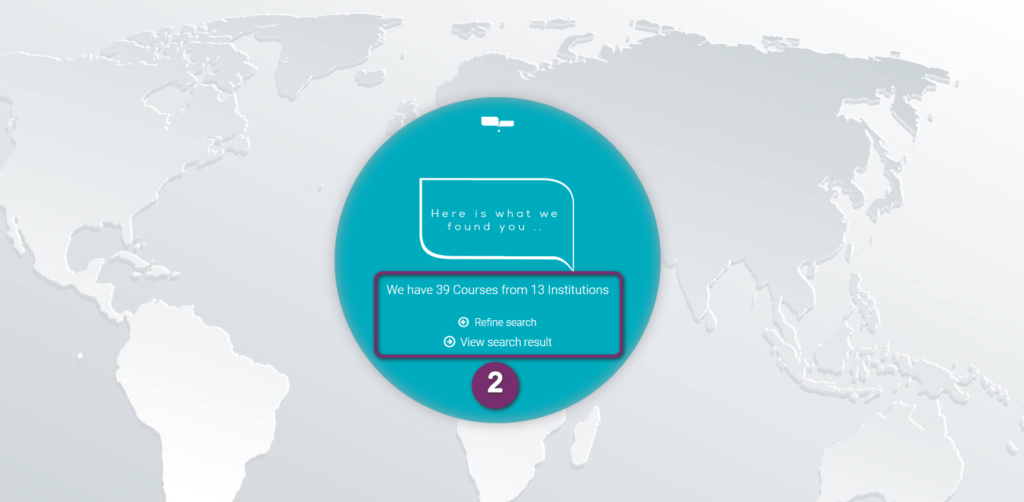
Course Search Results
Info and features when viewing the results
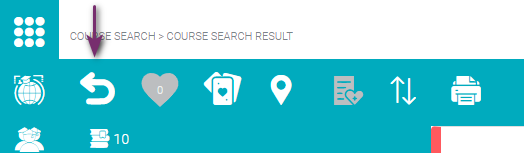
![]()
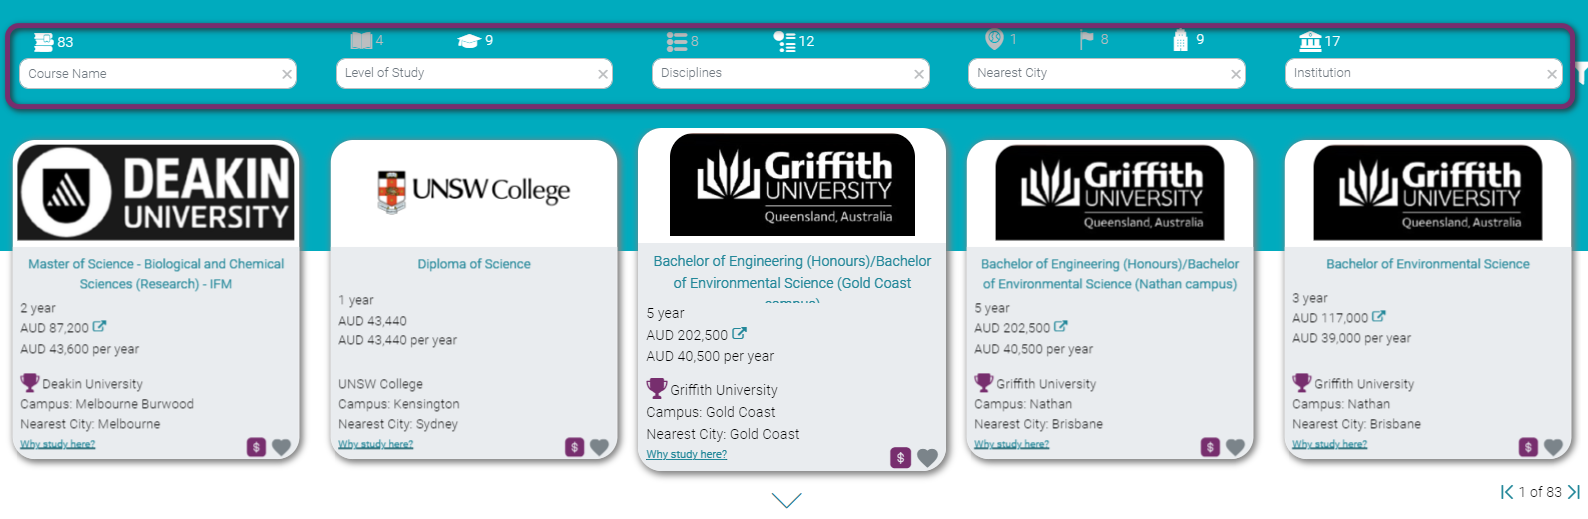
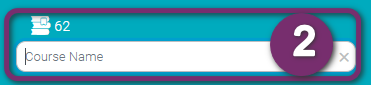
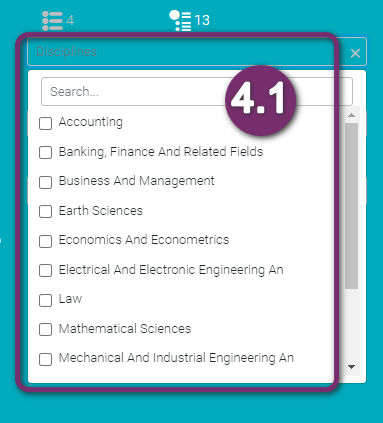
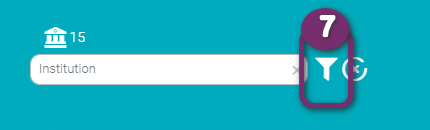
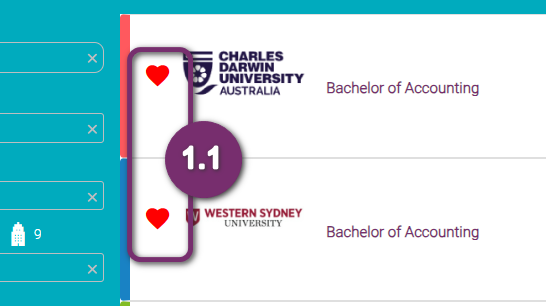
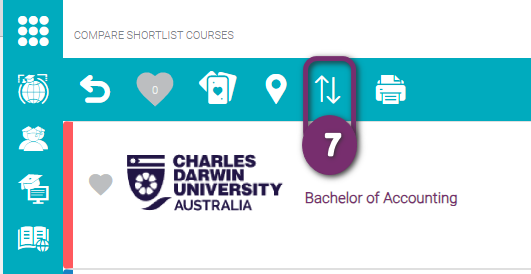
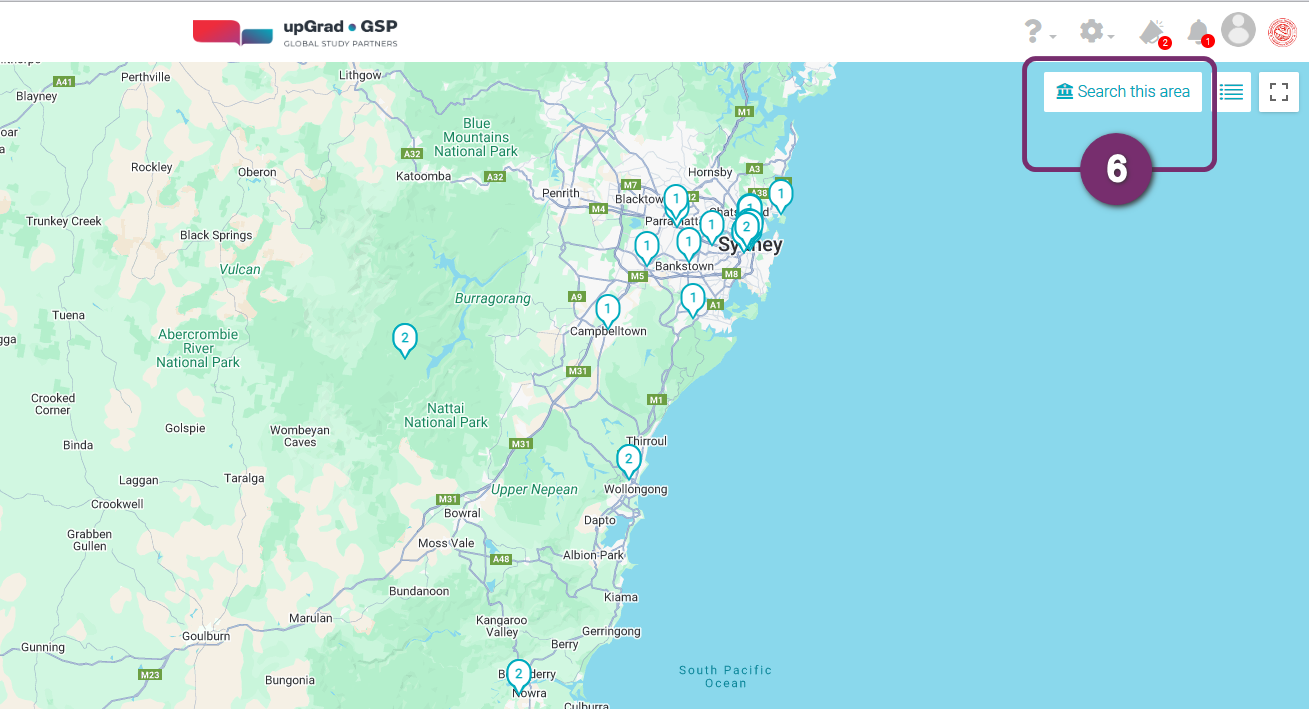
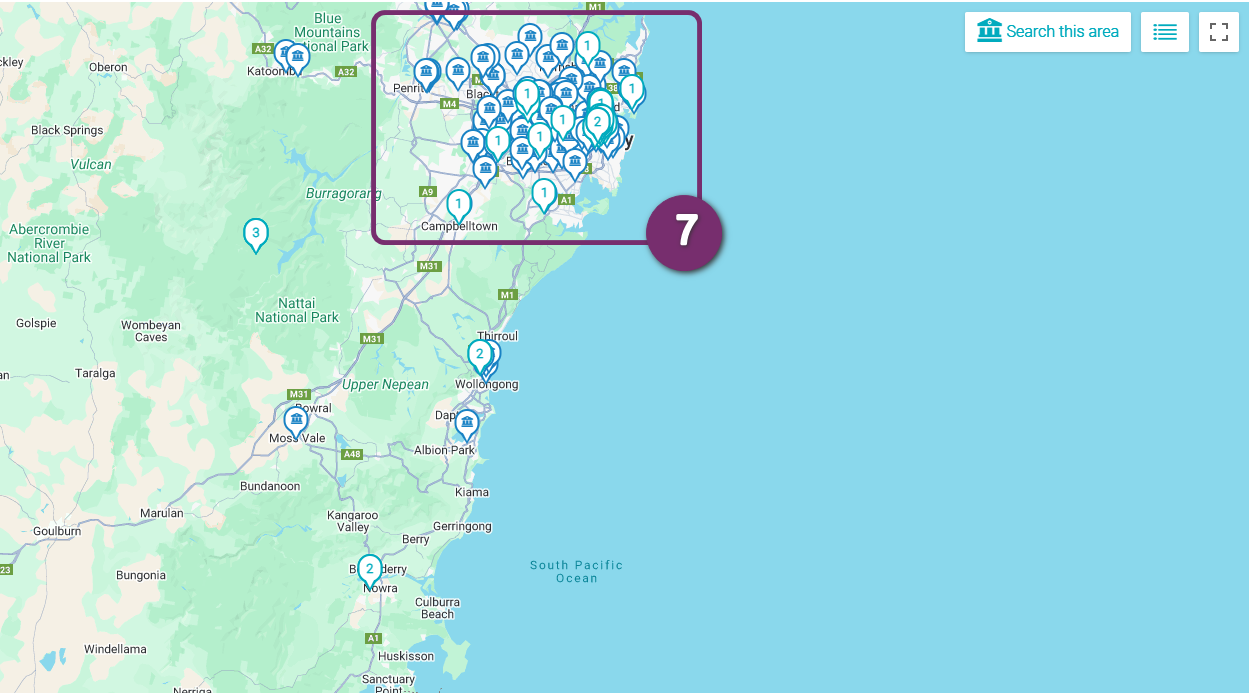
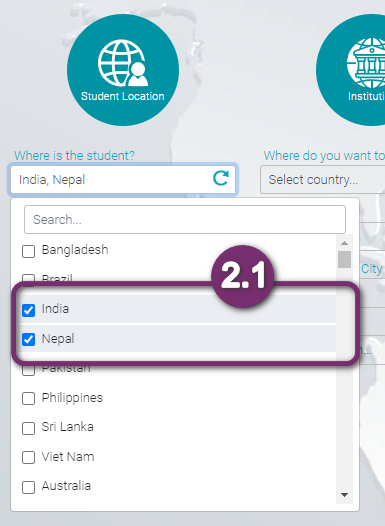
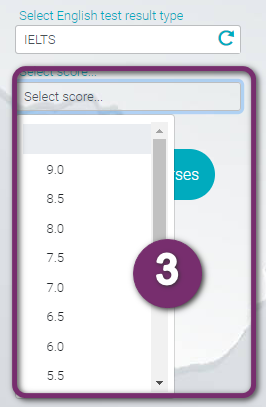
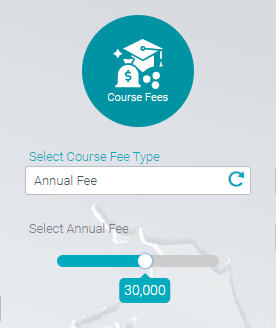
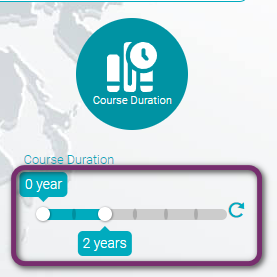
This is the text display of the Institutions you have selected. You can click on the refresh icon to remove all the selections.
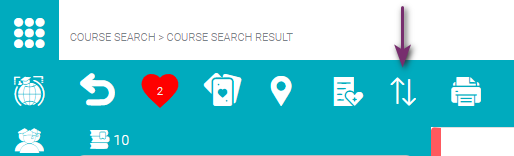
![]()
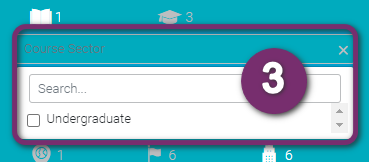
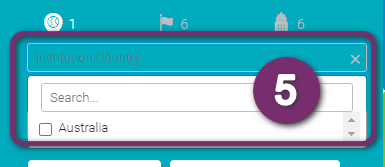
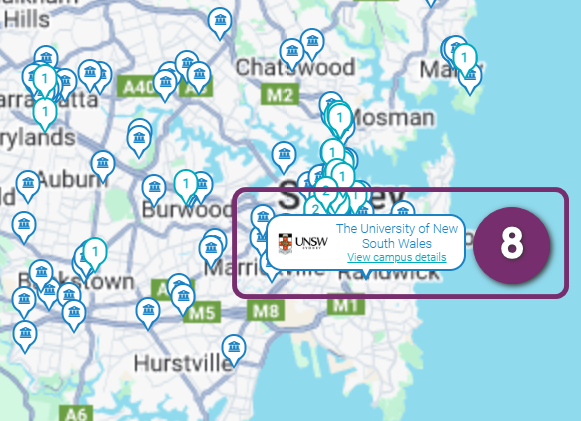
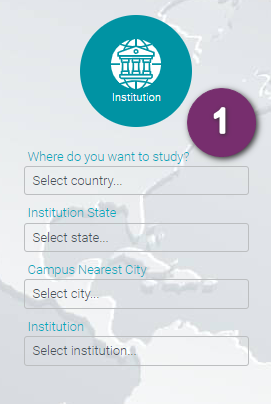
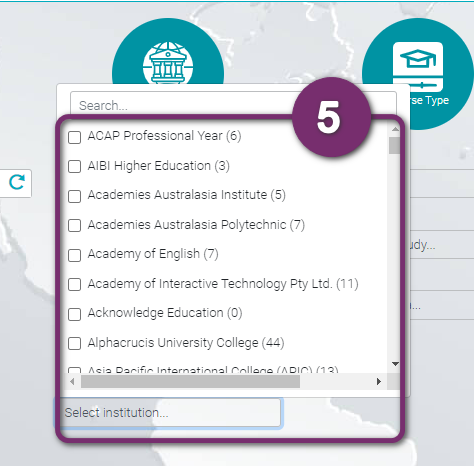
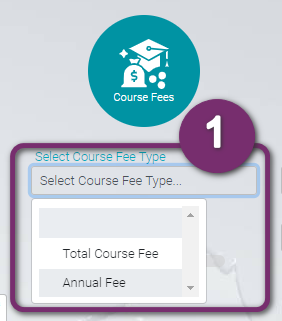
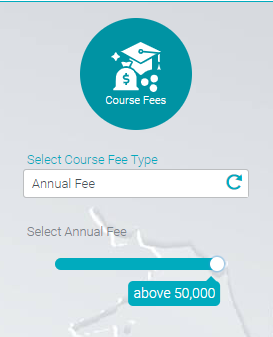
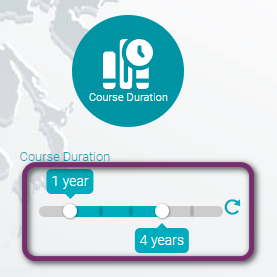
You can click on the refresh icon to remove all the selections.


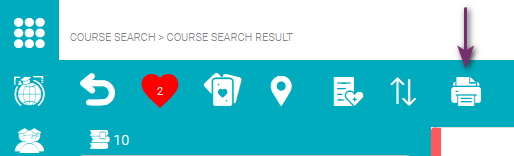
![]()
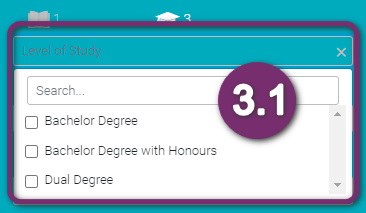
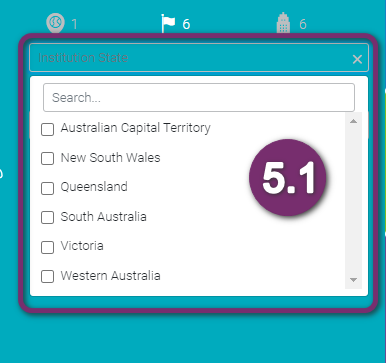
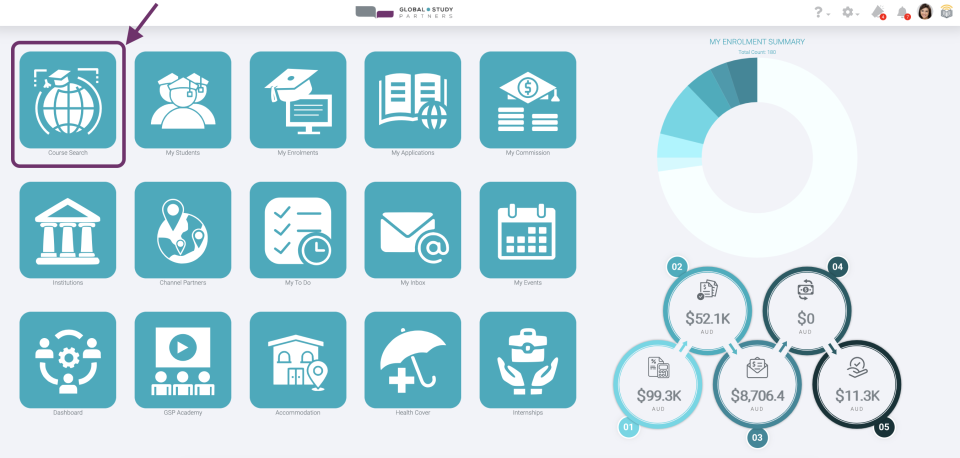
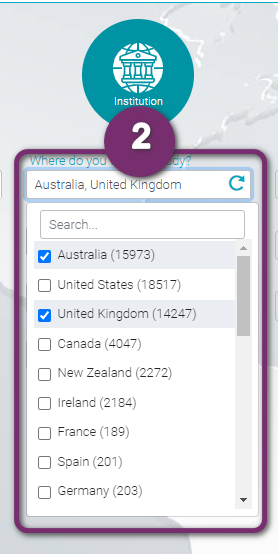
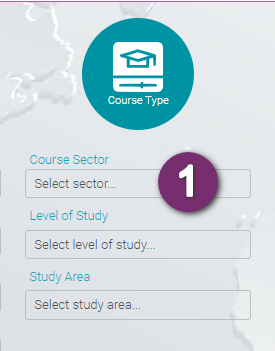
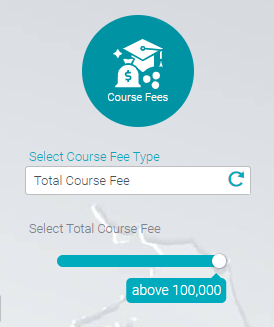
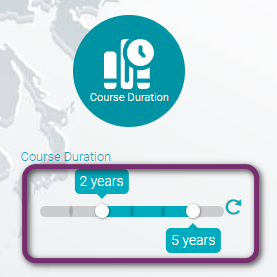
You can click on the refresh icon to remove all the selections.
![]()
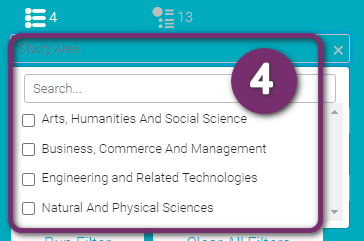
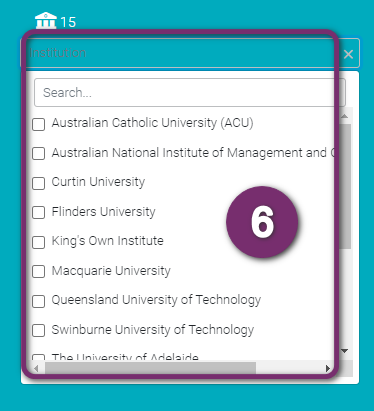
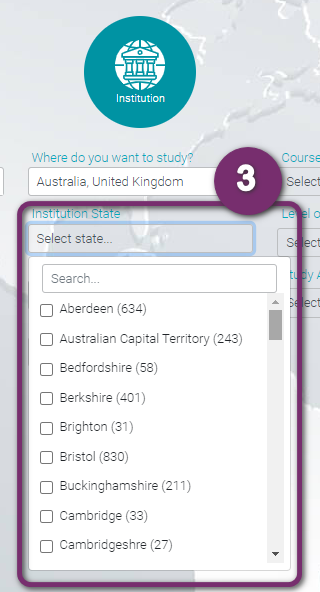
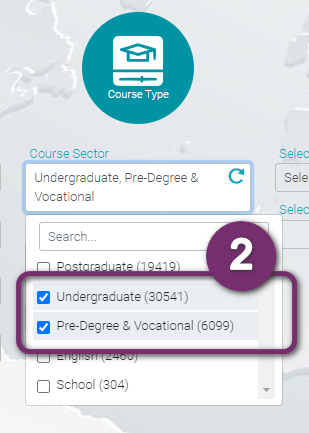
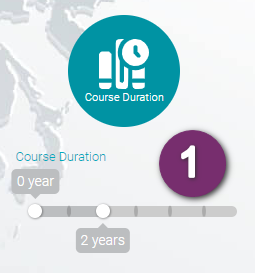
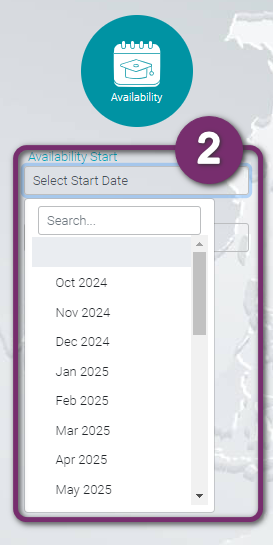
You can click on the refresh icon to remove all the selections.
![]()
You can click on the refresh icon to remove all the selections.
![]()
You can click on the refresh icon to remove all the selections.
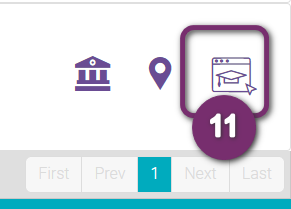
next

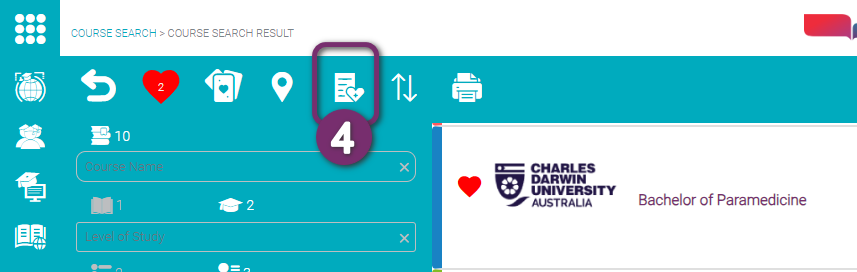
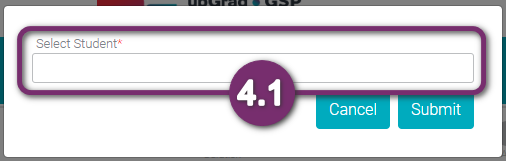
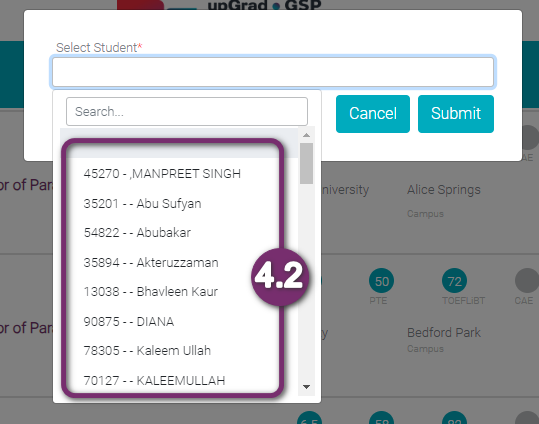
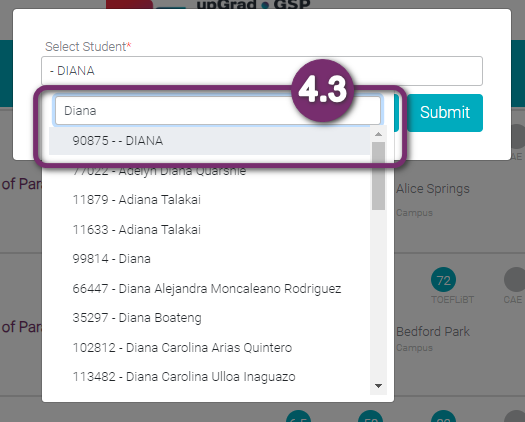
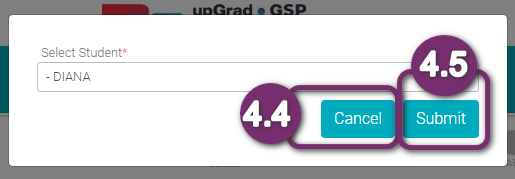
Enrolment Wizard
Lodge student enrolment and application