Learn a faster way to link the following in a seamless process
Select / Add student
Select / Add Enrolment
Watch to be notified on application updates
Modify application list and export a report
To get inside the Enrolment Wizard, you should click Course Search from the Main Menu
Lesson 1 Student | Session 1 Navigation to Apply
1
There are 3 ways to do course applications from Course Search Results Page. First is the single course application and the other two are multi-application.
First, is directly from the Course Search Results Page. Click Apply Now button to be redirected to Enrolment Wizard. When you click Apply Now in this state (image below), it means you are applying for Graduate Certificate in Management in CQUniversity Sydney Campus.
2
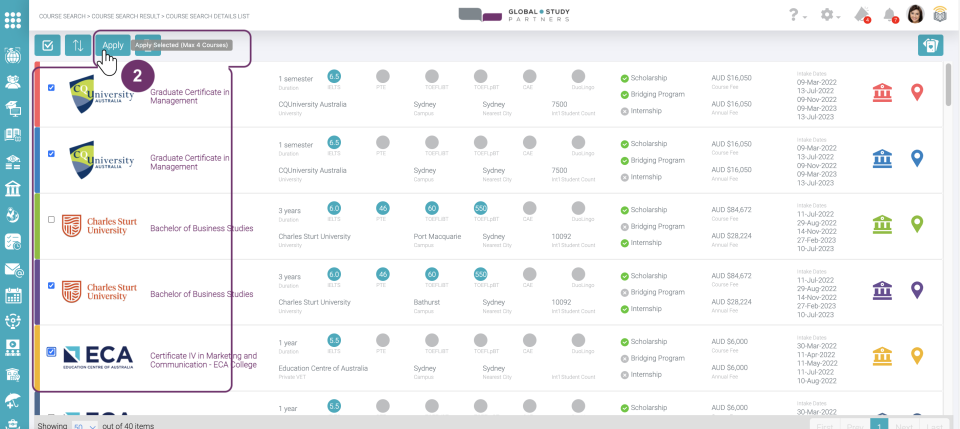
Second, is from the Course Search – Summary List View. Select up to 4 courses by checking the box at the left most side. Click ‘Apply’ button to be redirected to Enrolment Wizard. Click here to learn more about Course Search Results.
2
2.1 This message will pop when you selected (checked the boxes) more than 4 courses. Click ok to remove this pop message.
3
Lastly, is from the Compare selected Courses. Select up to 4 courses by checking the box at the left most side. Click ‘Apply’ button to be redirected to Enrolment Wizard. Click here to learn more about Compare selected Courses.
3.1 This message will pop when you selected (checked the boxes) more than 4 courses. Click ok to remove this pop message.
Lesson 1 Student | Session 2 Select Student
1
This is the Enrolment Wizard. The circles represent the process that you will go through in using the Enrolment Wizard. This means that there are 4 steps to complete this:
Identify the Student you are applying on behalf of
Identify the Enrolment where you want to place the Course Application/s under. You will be prompted to create an enrolment if there is no existing one yet.
Confirm the Course Application/s which you just selected from the Course Search Results
Upload Documents
The latest colored circle will determine which step you are currently in. Image below means you are in the first step, identify Student.
2
Step 1: Select Student
Click the ‘Select Student’ field to display the students picklist where you can choose from.
2
2.1 In the student picklist, you should only be able to see the students linked under you. Use the scroll bar to see the full list. Your role determines your permission on who among the students in your company or branch you can apply on behalf of:
Head Office Admin – can apply all students linked to the company
Head Office Standard – can apply all students linked to the company
Branch Admin – can only apply students linked under his/her assigned branch
Branch Standard – can only apply students linked under his/her assigned branch
Counsellor – can only apply students directly linked to him/her
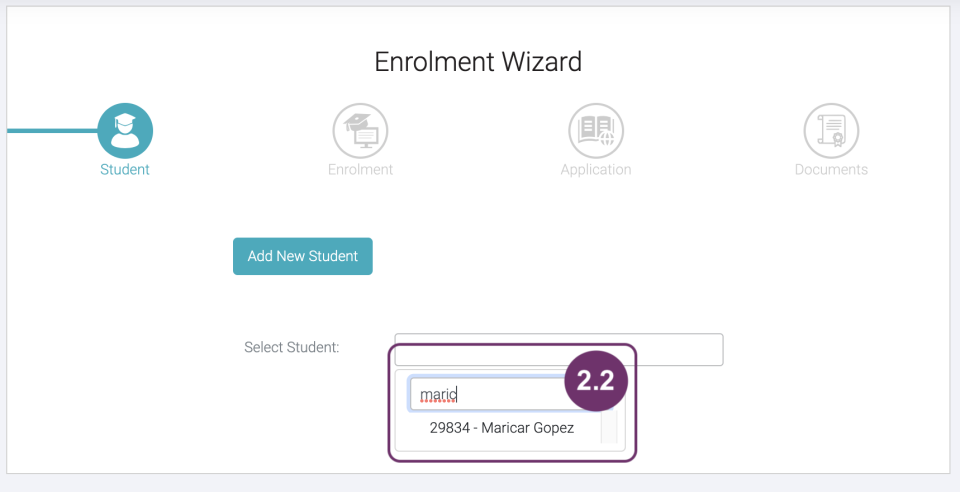
2.2 If the student list is too long for you, an easier way to find the student is by typing the student name in the textbox located at the top of the student list. The student list should be filtered according to what you have typed. Click the student name from the filtered list to select.
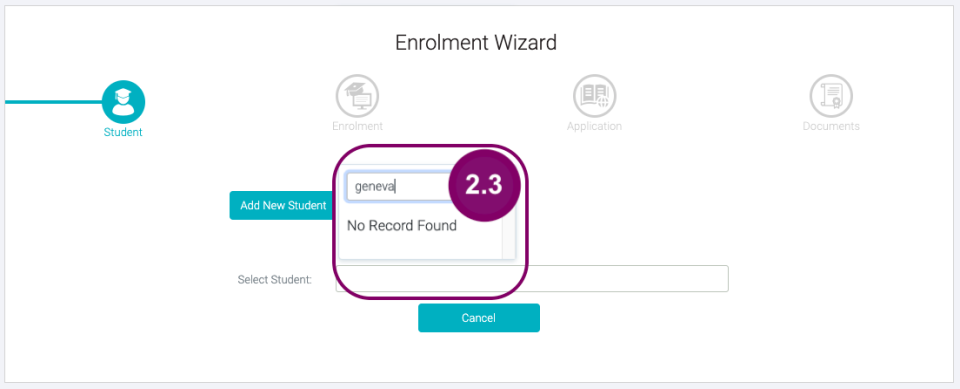
2.3 If the Student you are looking for is not in the picklist, then ‘No Record Found’ should be displayed under the textbox where you typed the student name. If the student is not in the list, then you are not allowed to apply a course on behalf of that student. In case, you need to create a new Student record, go to Session 3 of this lesson.
3
Confirm Student Details
Student details will be displayed to make sure that this is the Student you would like to apply on behalf of. In case, you picked the wrong student, you can click the Select Student field to select another student again.
If the the Student record does not exist yet, click ‘Add New Student’ button located at the top of the Select Student field.
2
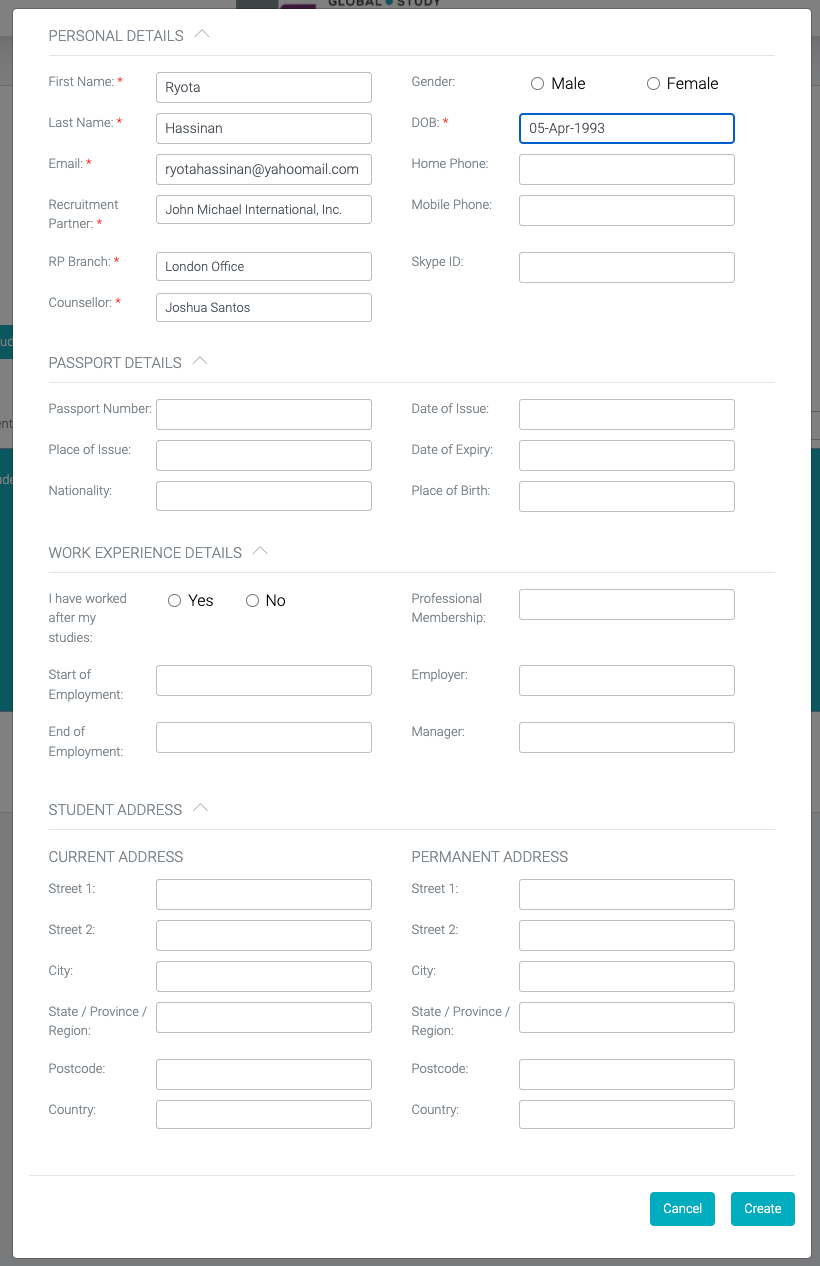
A pop-up form will be displayed where you should input the Student Details. At the minimum you should be able to input the following details (fields with red asterisks):
First Name
Last Name
Email
Recruitment Partner
RP Branch
Counsellor
DOB
2
Below is the full form. To see how to fill out all the details in this pop-up form, go to how to create new student.
3
Below the Create Student pop-up form: Click ‘Create’ button if you want to save the student record
Click ‘Cancel’ button if you do not want to save the student details.
4
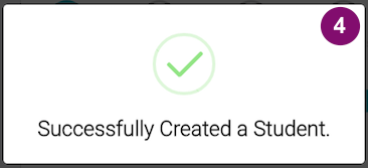
You will be immediately notified that the student has been successfully created. This pop should be removed by itself after 5 seconds.
Lesson 2 Enrolment | Session 2 Create New Enrolment
1
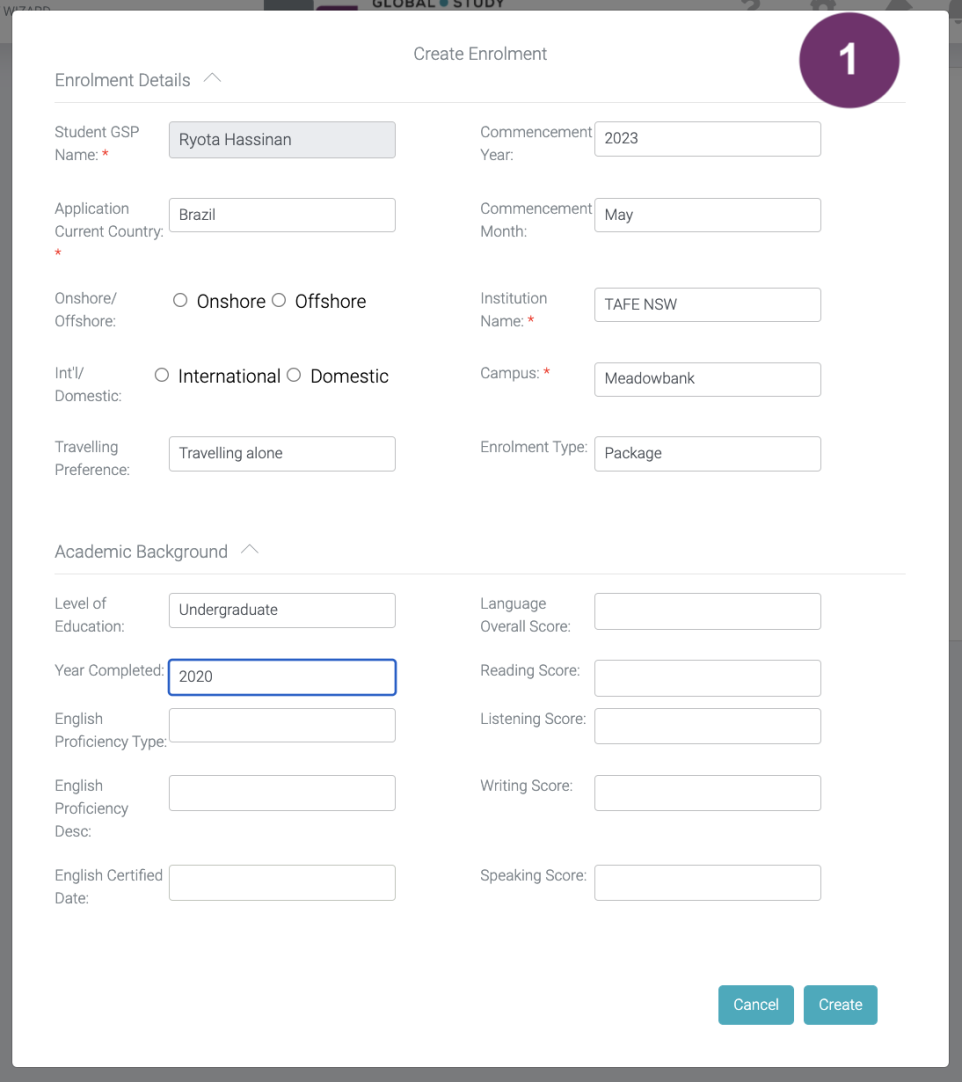
Since this student was freshly created, then it doesn’t have any Enrolment record yet. So, immediately right after the pop-up notification about student has been successfully created, a pop-up Enrolment Form will be displayed for you to fill out. If you need help on how to fill out this form, click here to learn how to create an Enrolment.
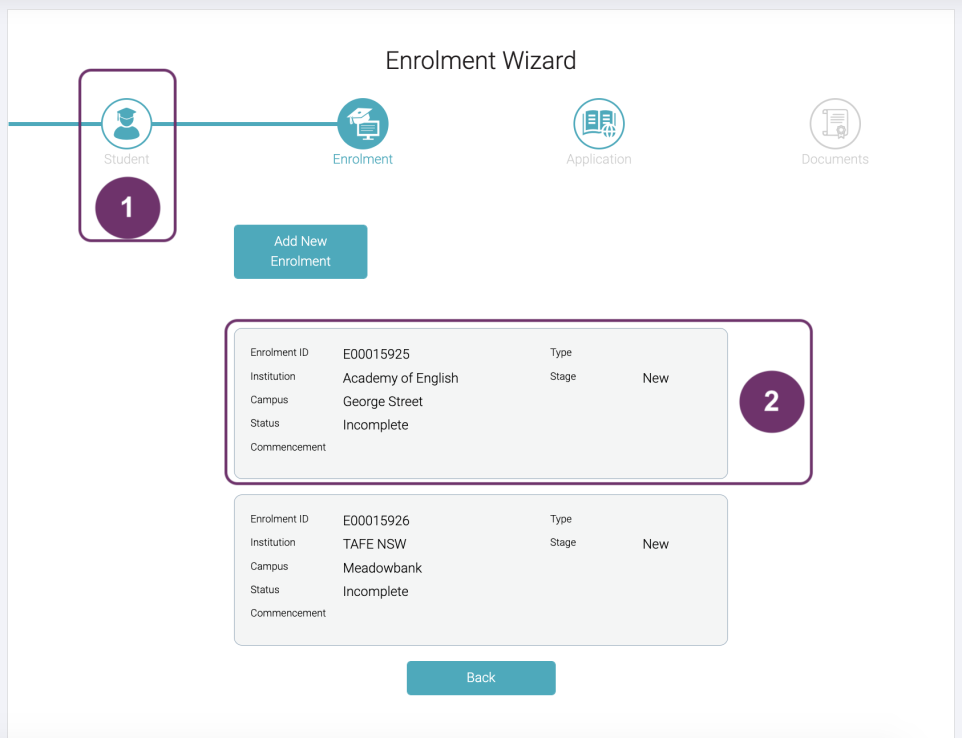
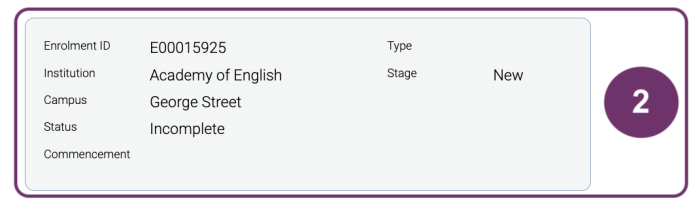
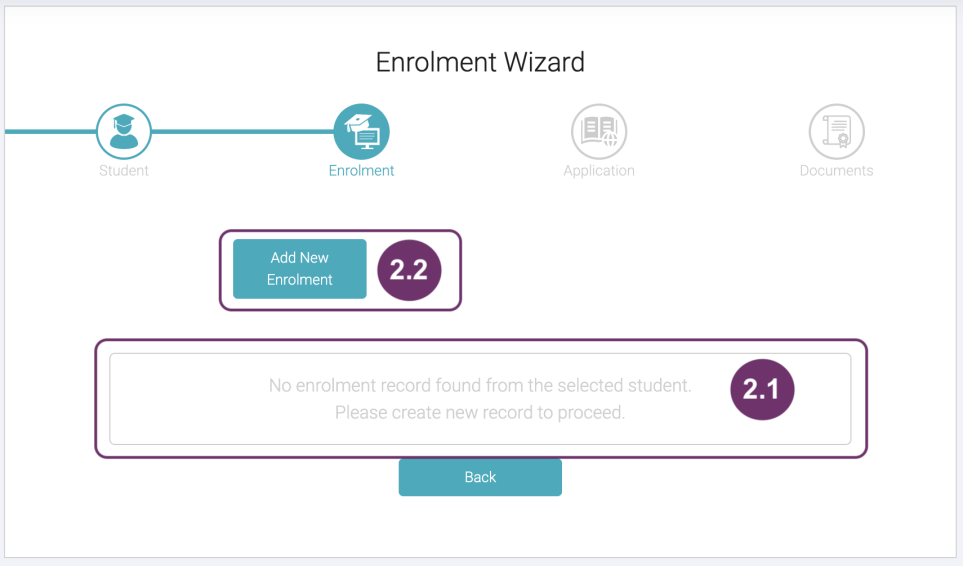
Click ‘Cancel’ to remove the pop. However, Enrolment is really necessary so you will be presented like in 2.1:
No enrolment record found from the selected student. Please create new record to proceed.
2
2.2 Click ‘Add New Enrolment’ button to display the Create Enrolment pop-up form again
Important!
Only Submitted Enrolments will be processed. Successfully creating an Enrolment Record or finishing this Enrolment Wizard does not automatically submit your Enrolments. You should still have to check all records, all info and all documents linked to the Enrolment and ‘Submit‘ to proceed. Learn how to submit an Application.
2.3 This pop-up will appear after successfully creating an Enrolment.
In case, you want to go back to the previous steps, you can click Enrolment’ or ‘Student’ in the progress bar.
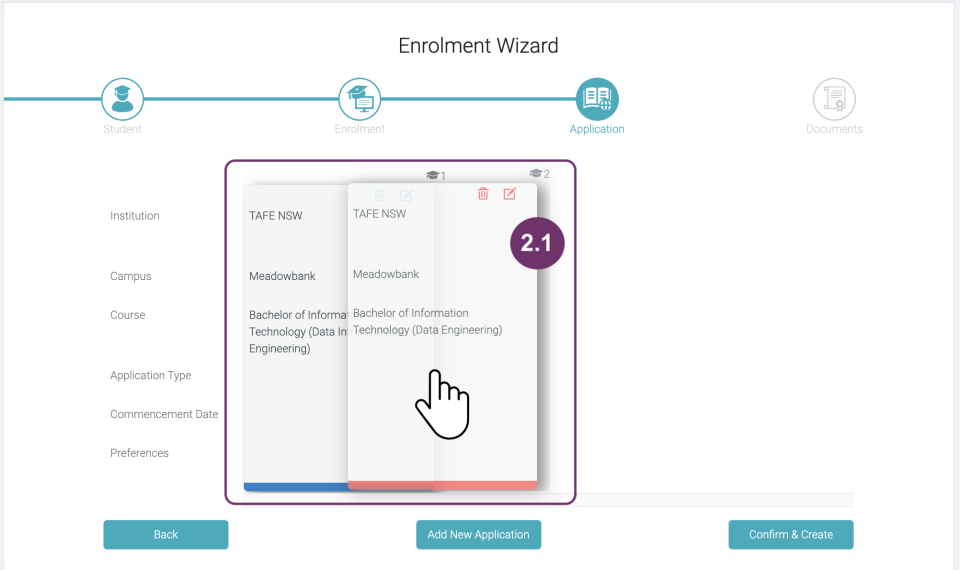
Notice that ‘Application in the progress bar is now coloured, which means it is the current step.
2
These are the courses tied up to the Enrolment you selected. Notice the numbers above each application card. The numbers indicate the order of priority of applications. The first application in the display (with #1 above) means it is the priority. In the image below, Bachelor of Information Technology (Data Infrastructure Engineering) is the priority over Bachelor of Information Technology (Data Engineering).
2
The positioning of the applications has a purpose. You can drag the card to change the priority application.
The priority has now been changed.
3
Click Delete this record (trashbin) to delete. Make sure to click this only when you are sure enough that you want to delete it because it won’t show any warning.
4
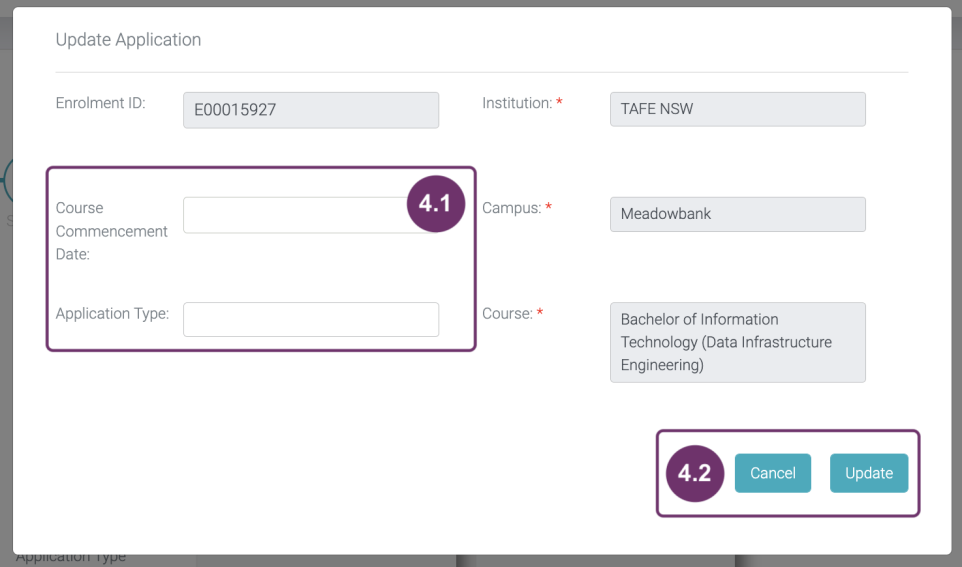
Click ‘Edit this Record’ to update the application details.
4
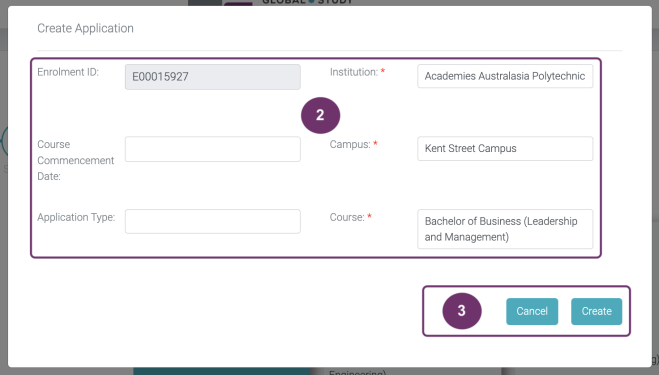
Update Application pop-up will appear. You can only update the following:
Course Commencement Date
Application Type
Click ‘Cancel’ button if you do not want to save any changes you made.
Click ‘Update’ button to save your changes in this application.
5
Click this when you are sure to include this Application under the Enrolment you have selected.
6
This works the same way as when you click ‘Enrolment’ in the progress back, it takes you back to the previous step which is Enrolment.
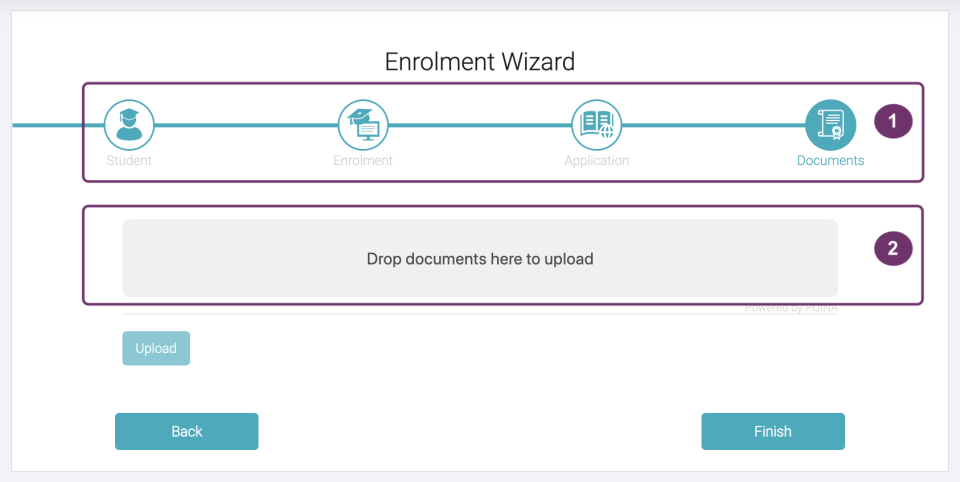
Click ‘Upload’ button if you are already satisfied with what you have here.
6
A notification pop-up will be immediately displayed after successfully uploading the document(s). This will be removed by itself after 5 seconds.
6
7
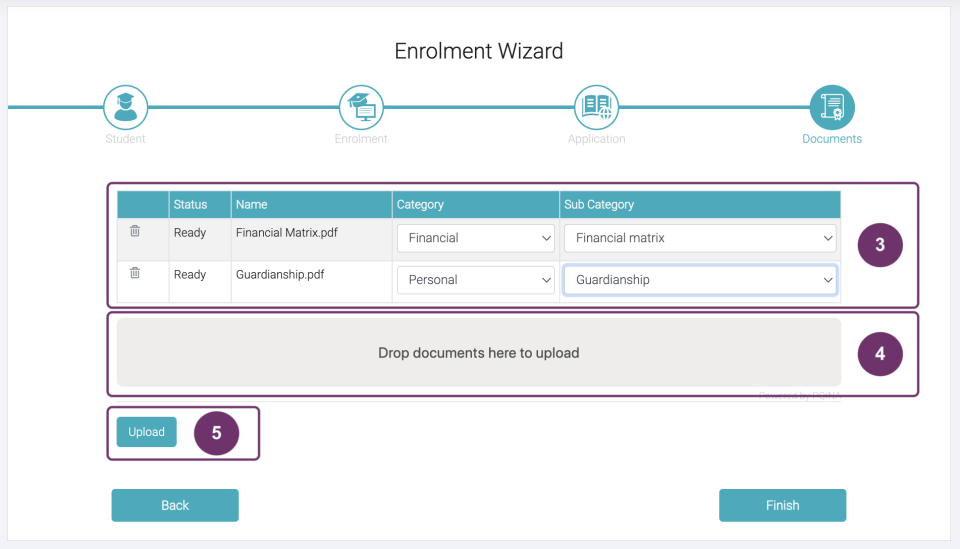
Shows the status of the documents that they were successfully uploaded.
8
Click ‘Finish’ button to ultimately finish the Enrolment Wizard process!
8
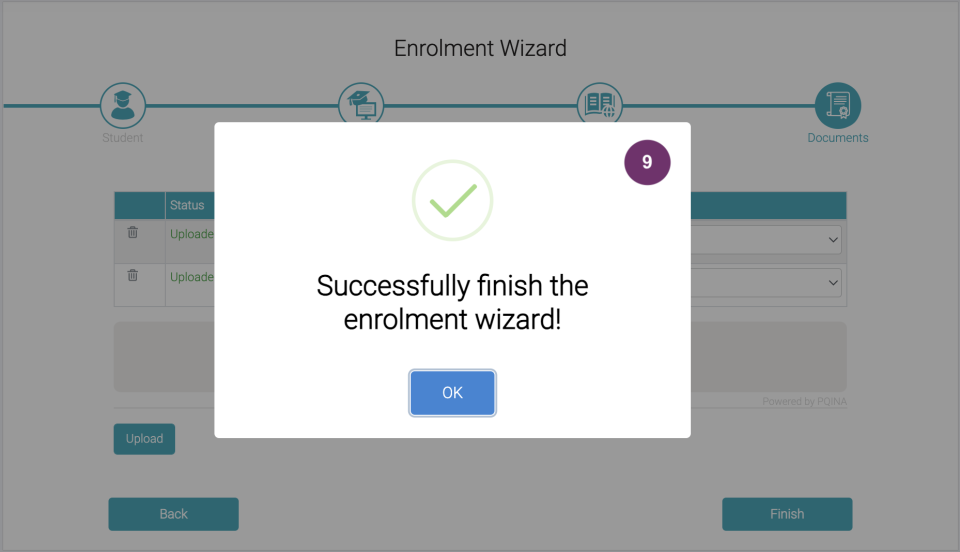
9
A pop-up will be immediately displayed to notify that you have successfully finished the Enrolment Wizard process. If you see ‘OK’ button, click it. You will then be redirected to the Enrolment Record Page where you added the course you applied for and see the Applications below it.
9.1 You will then be redirected to the Enrolment Record page itself for you to check details.